Setting Up IntelliJ IDEA
Setting Up IntelliJ IDEA
-
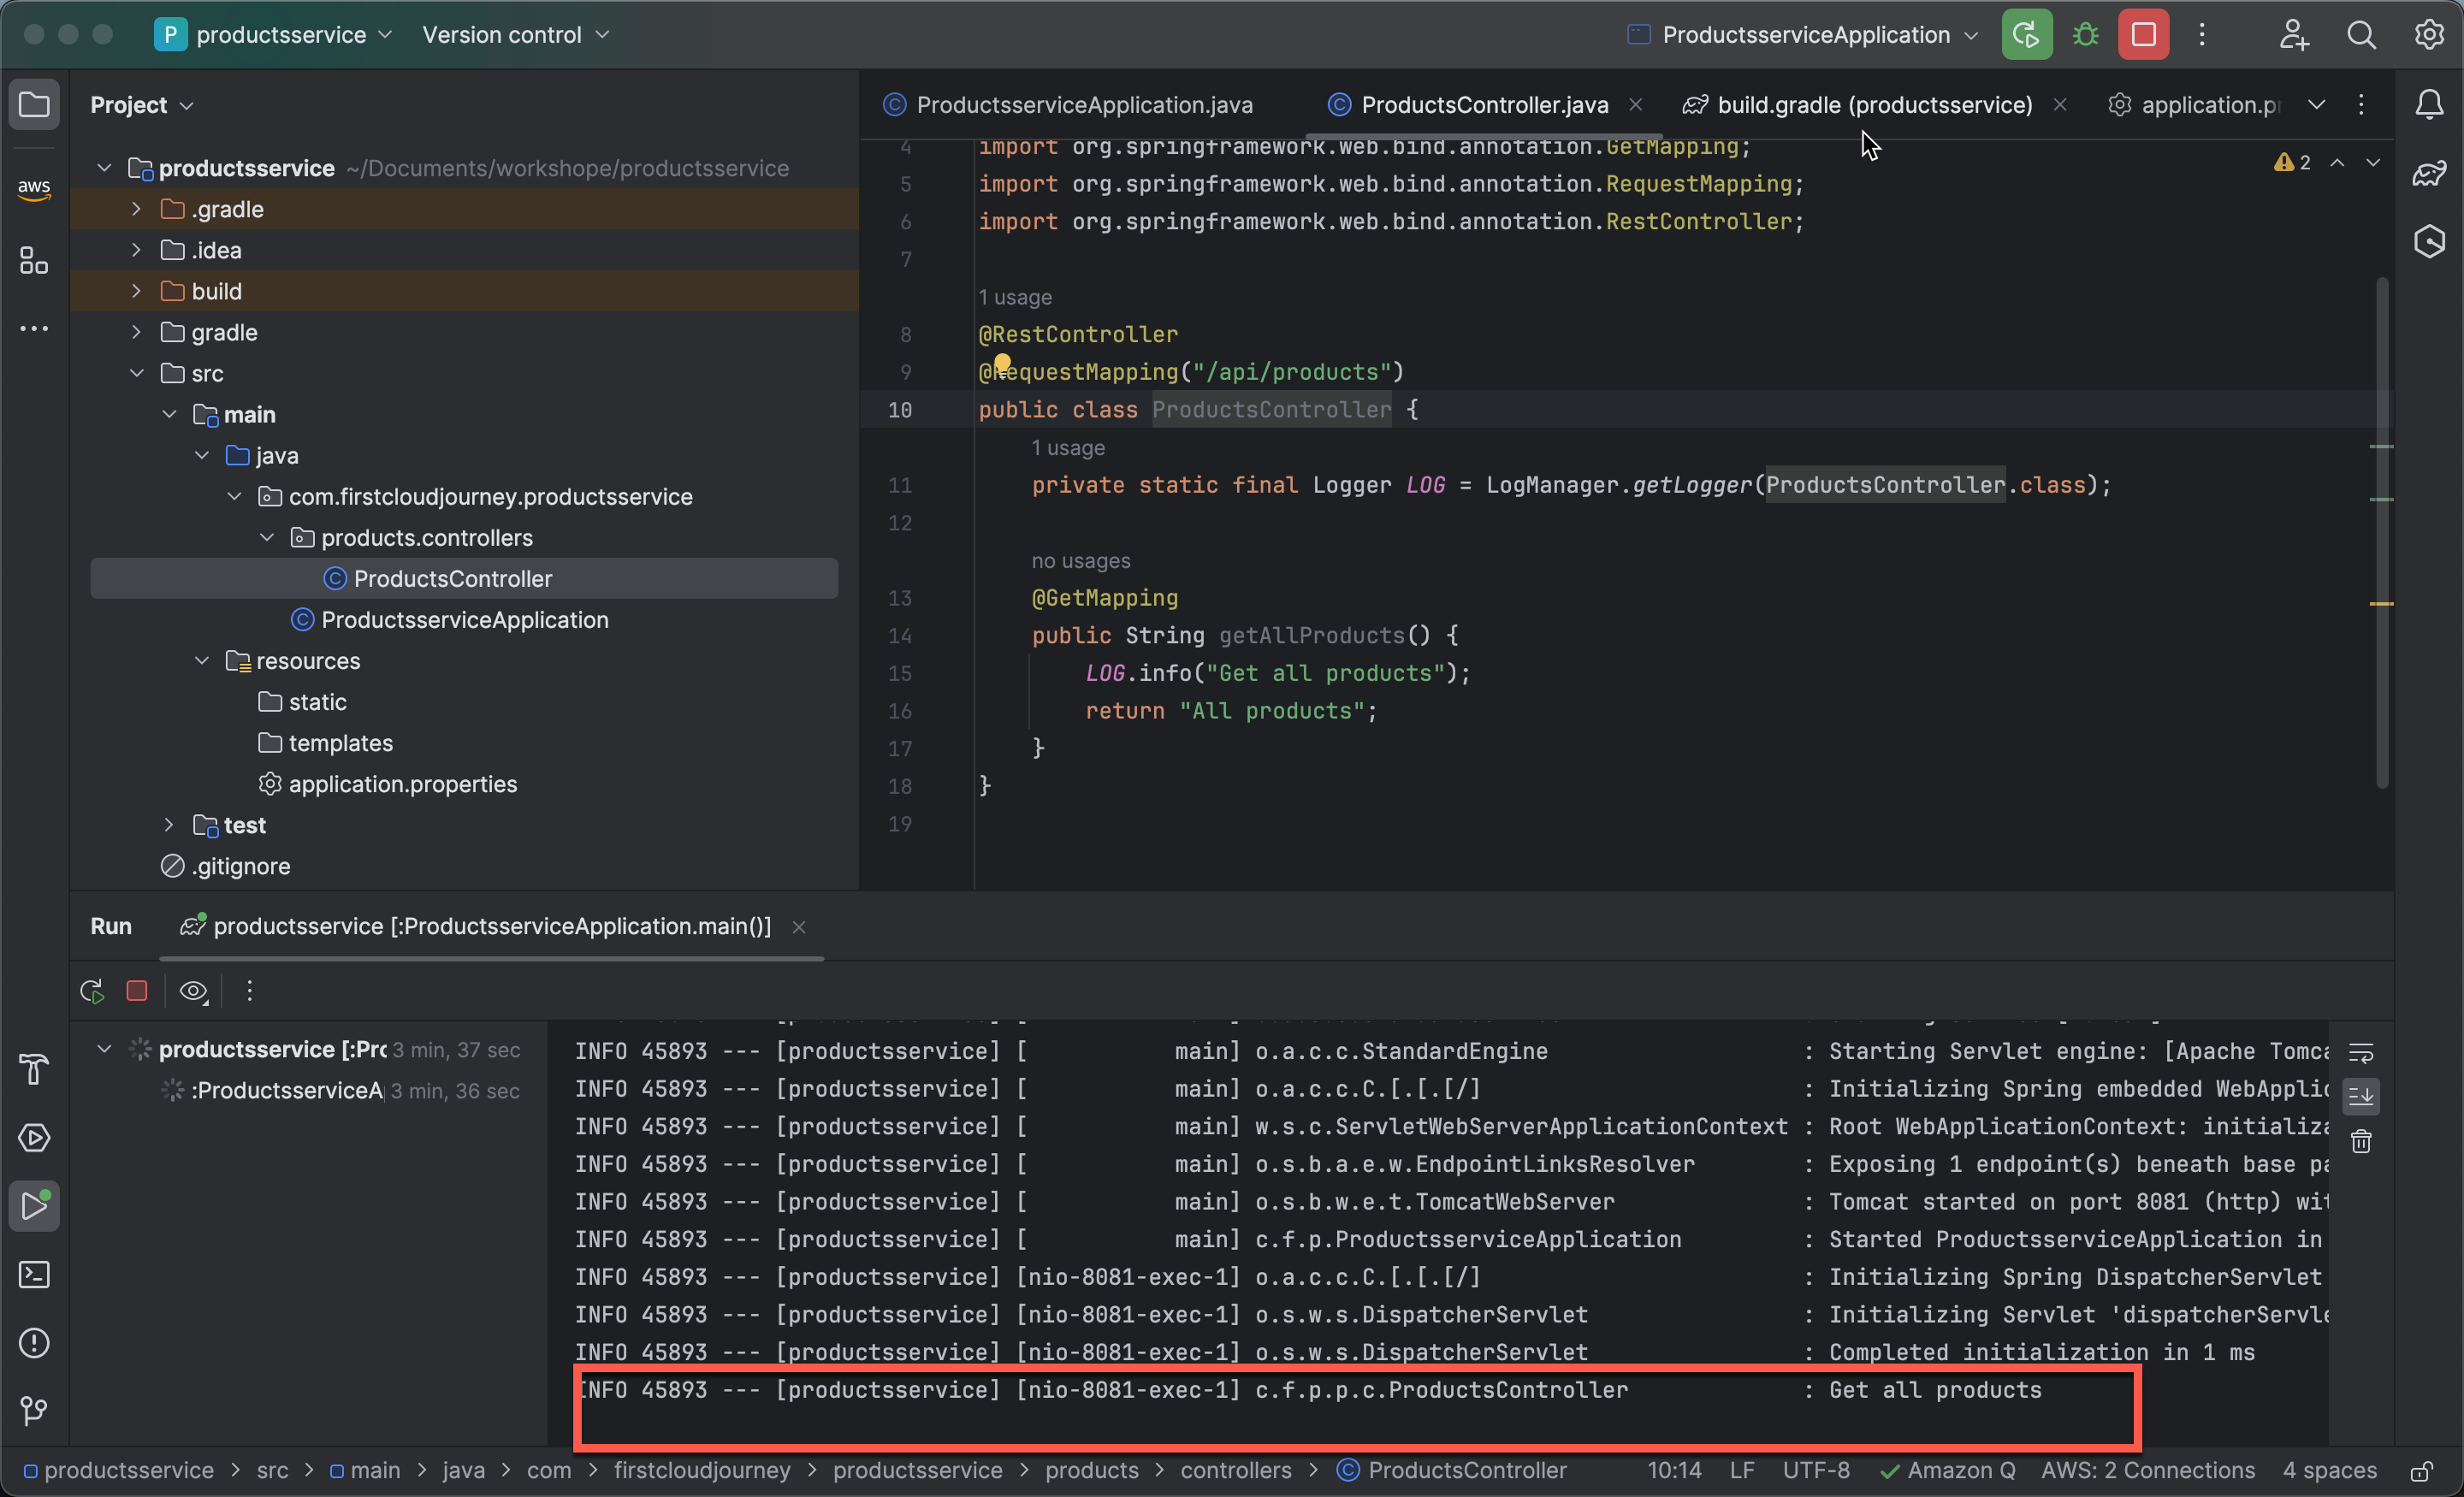
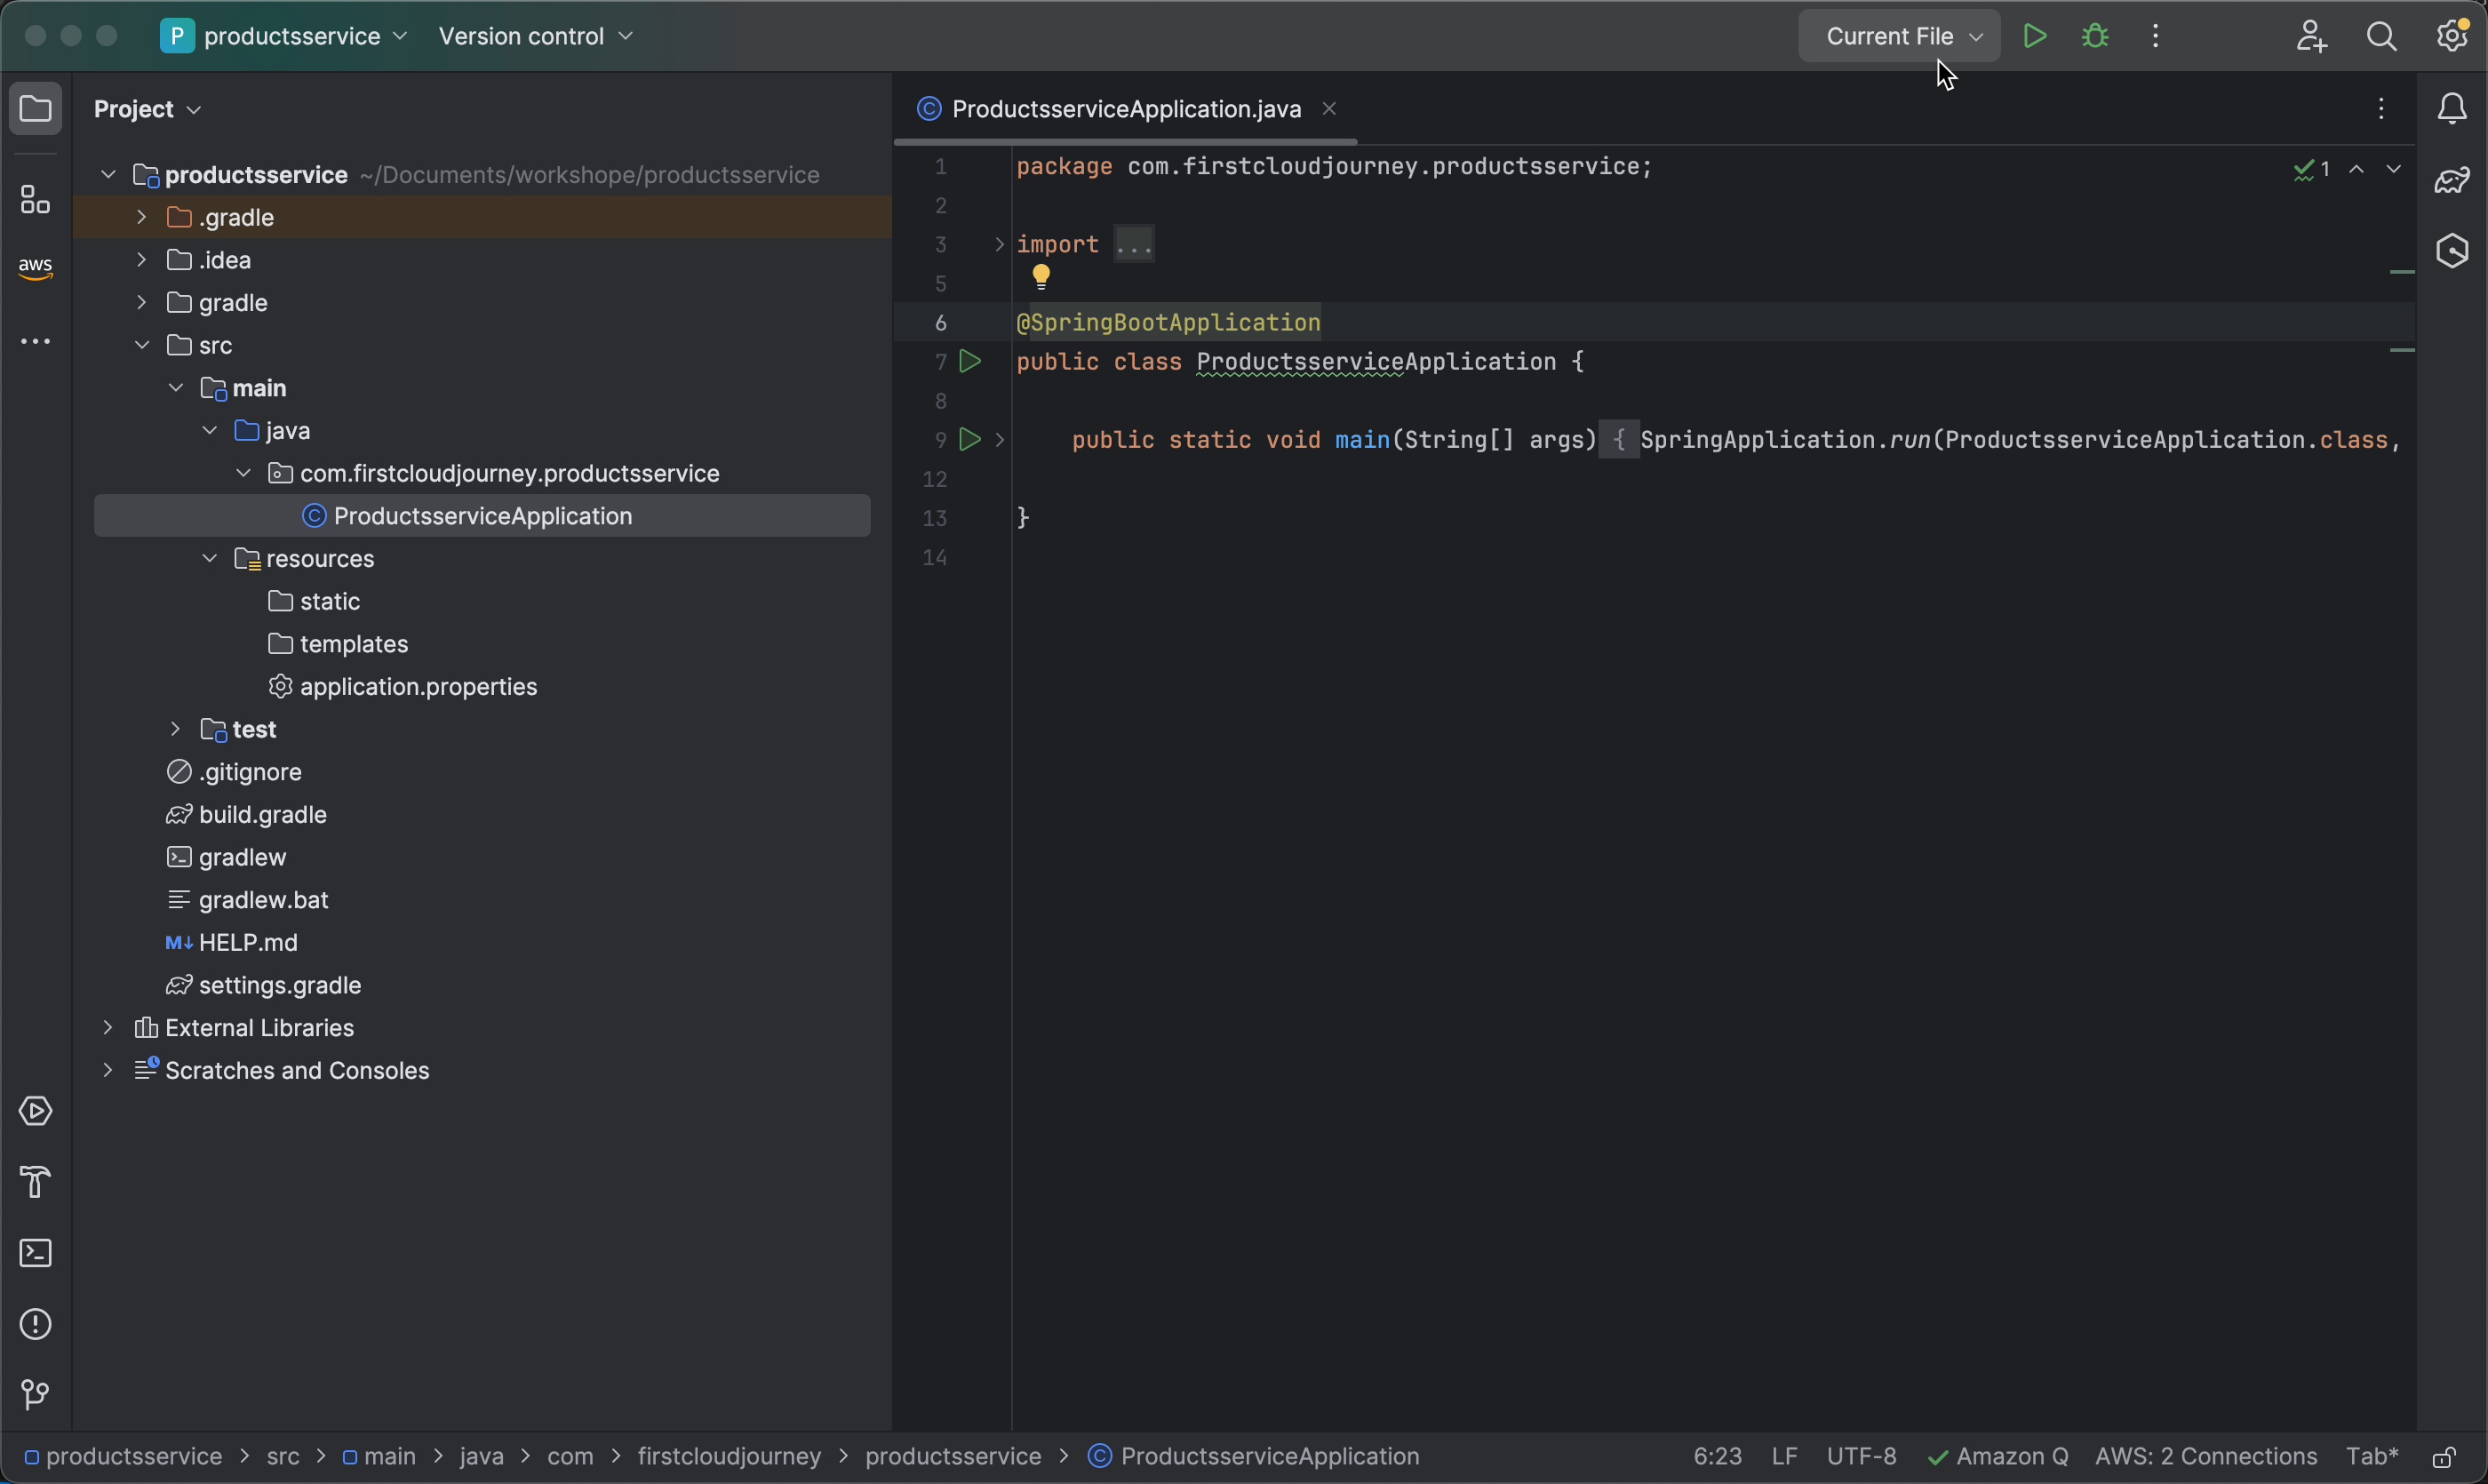
Open IntelliJ IDEA and navigate to the Spring Boot project you just created.
-
Configure the project:
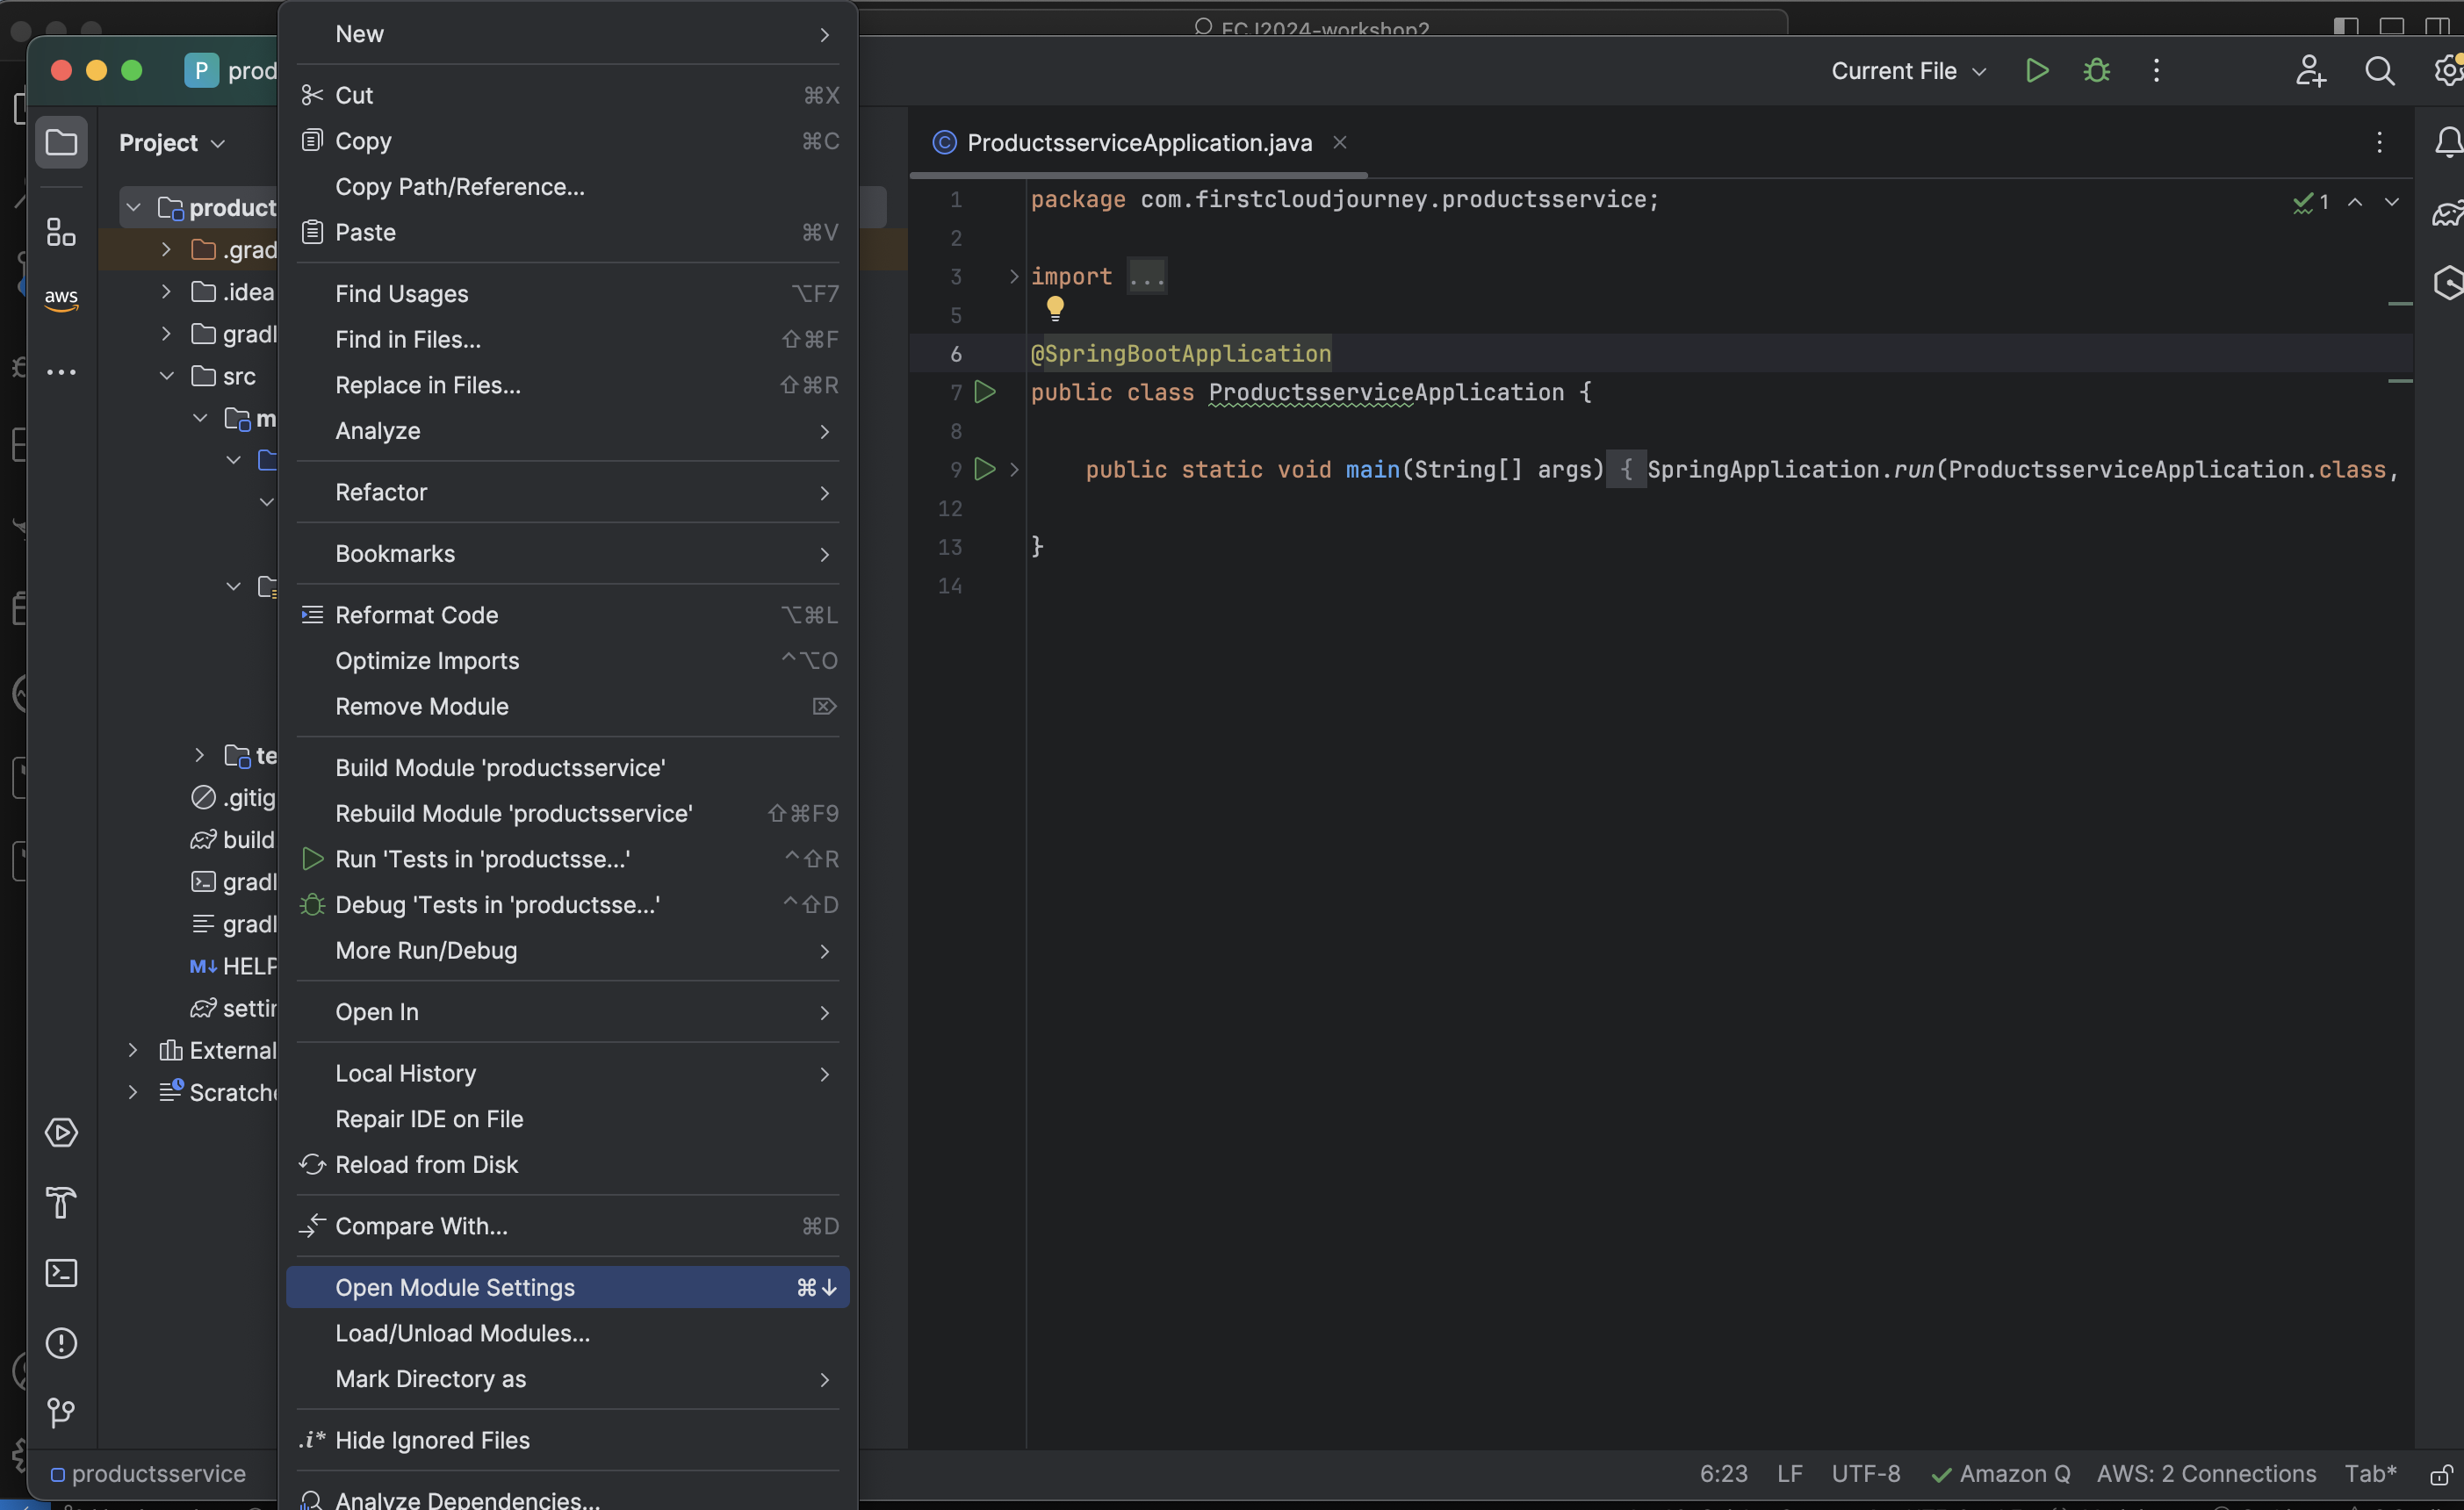
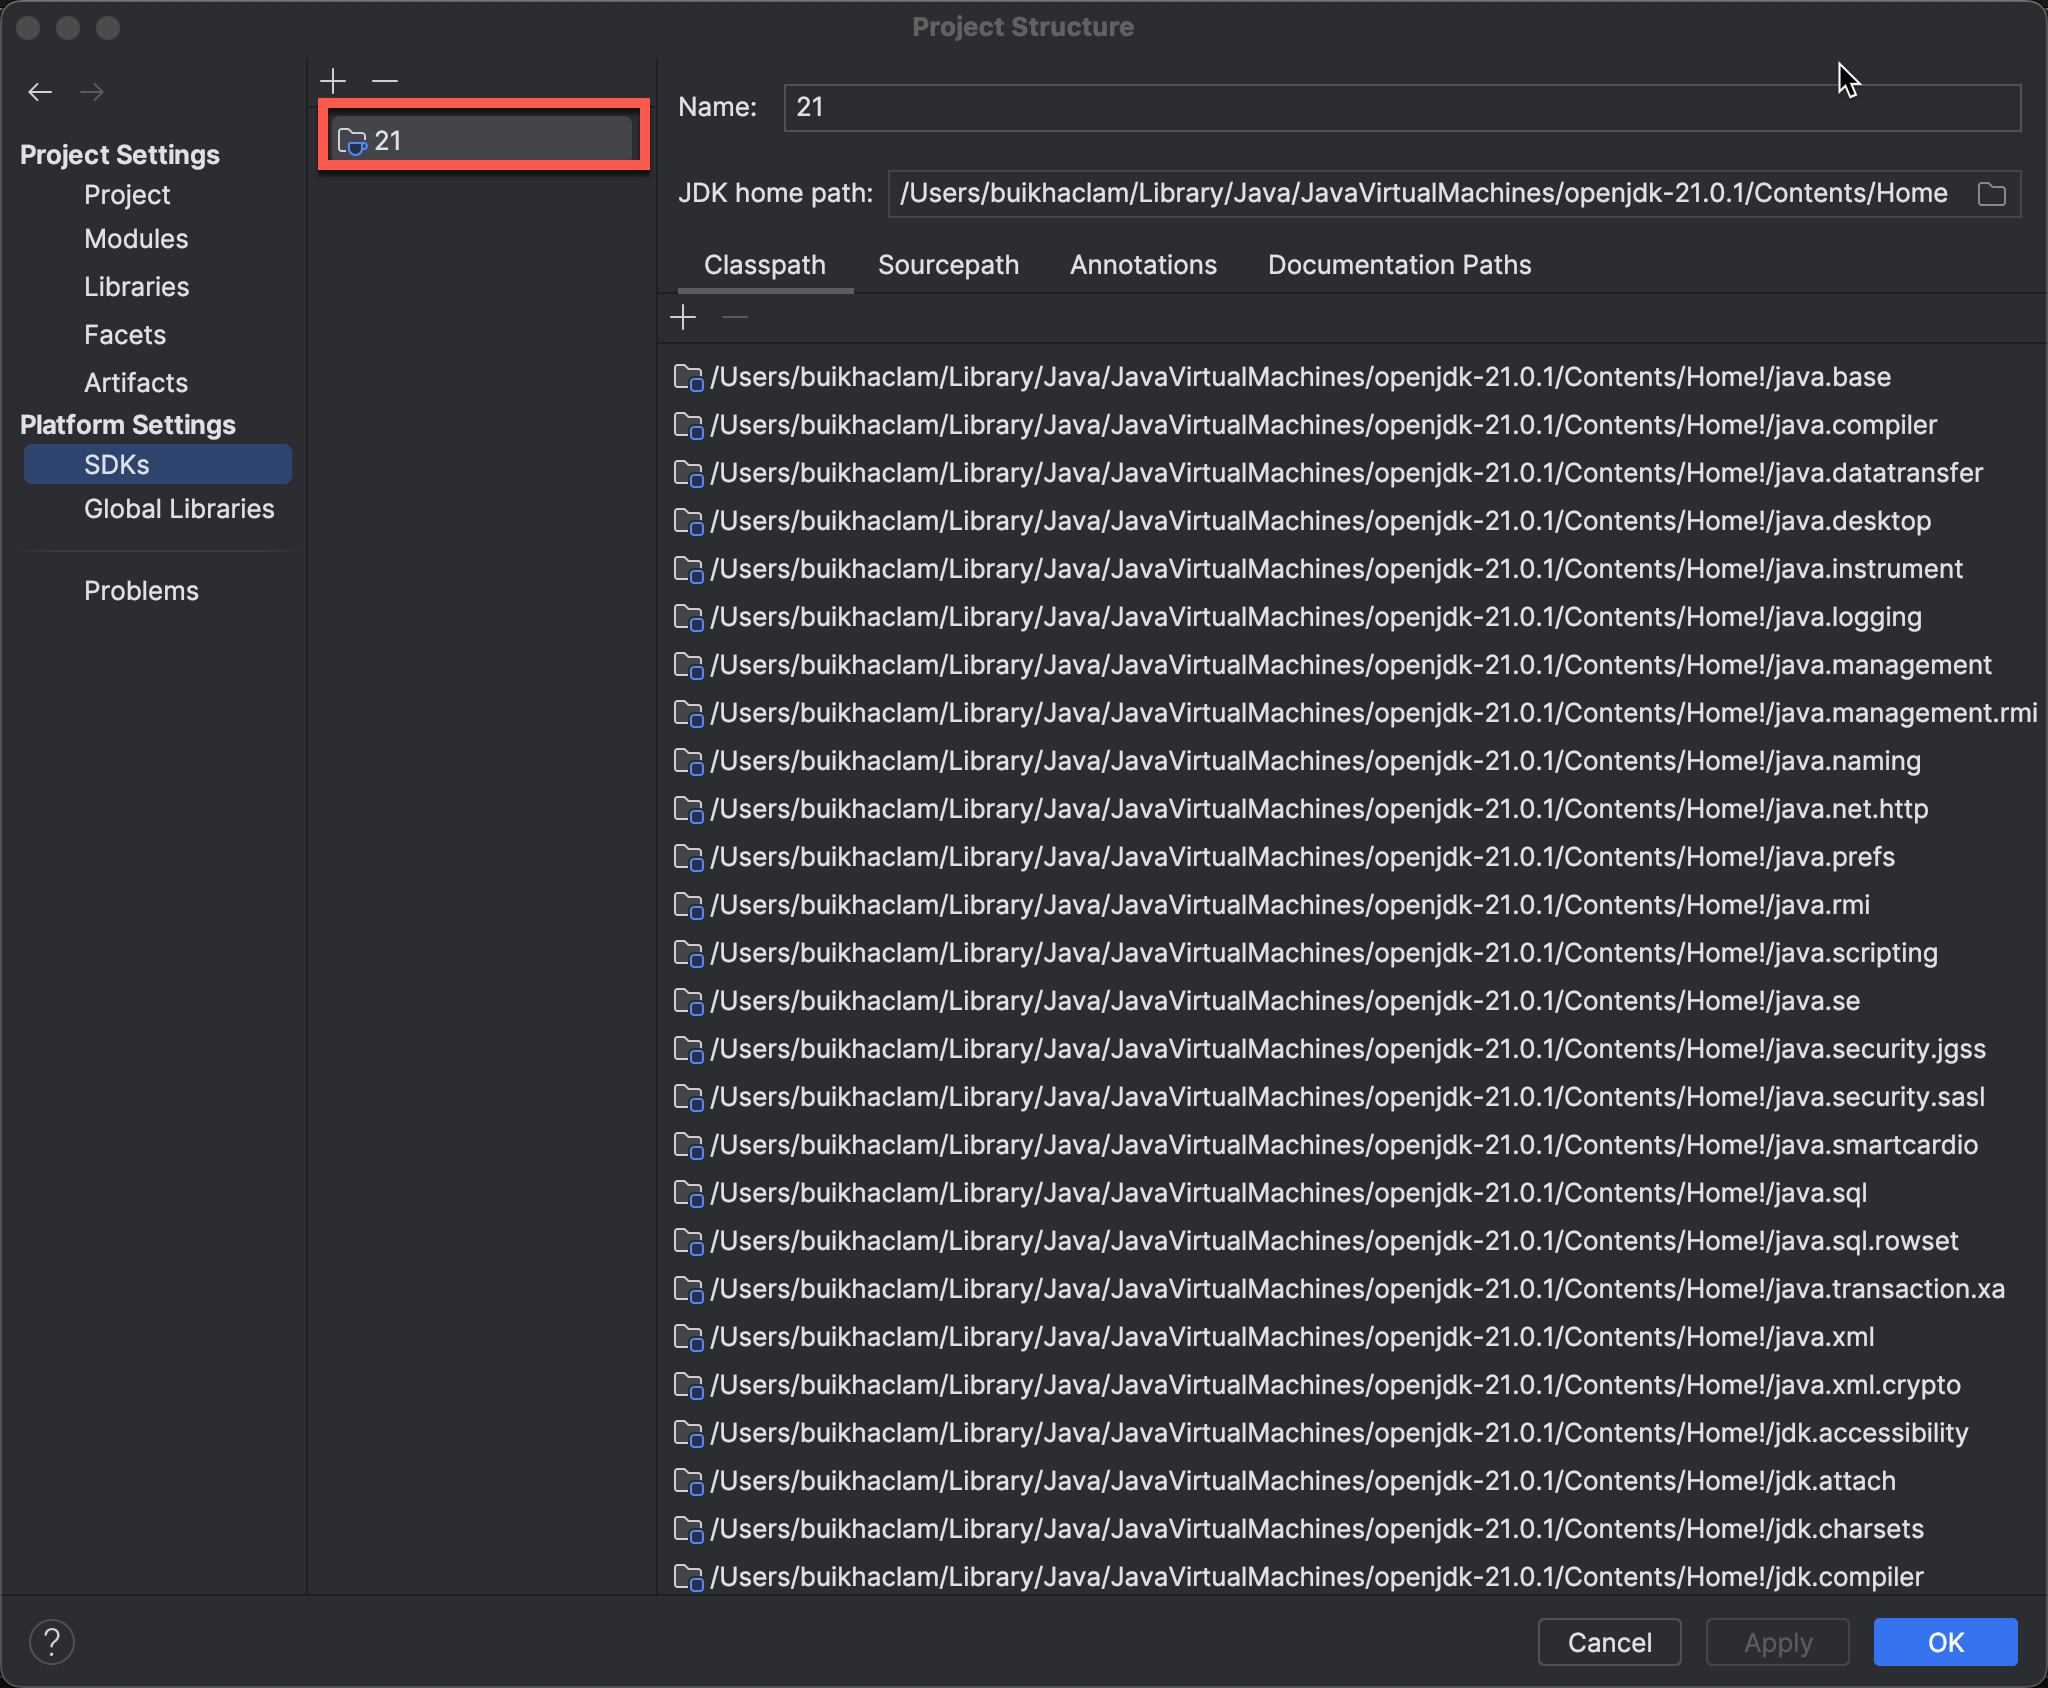
- Right-click on the project and select Open Module Settings.
-
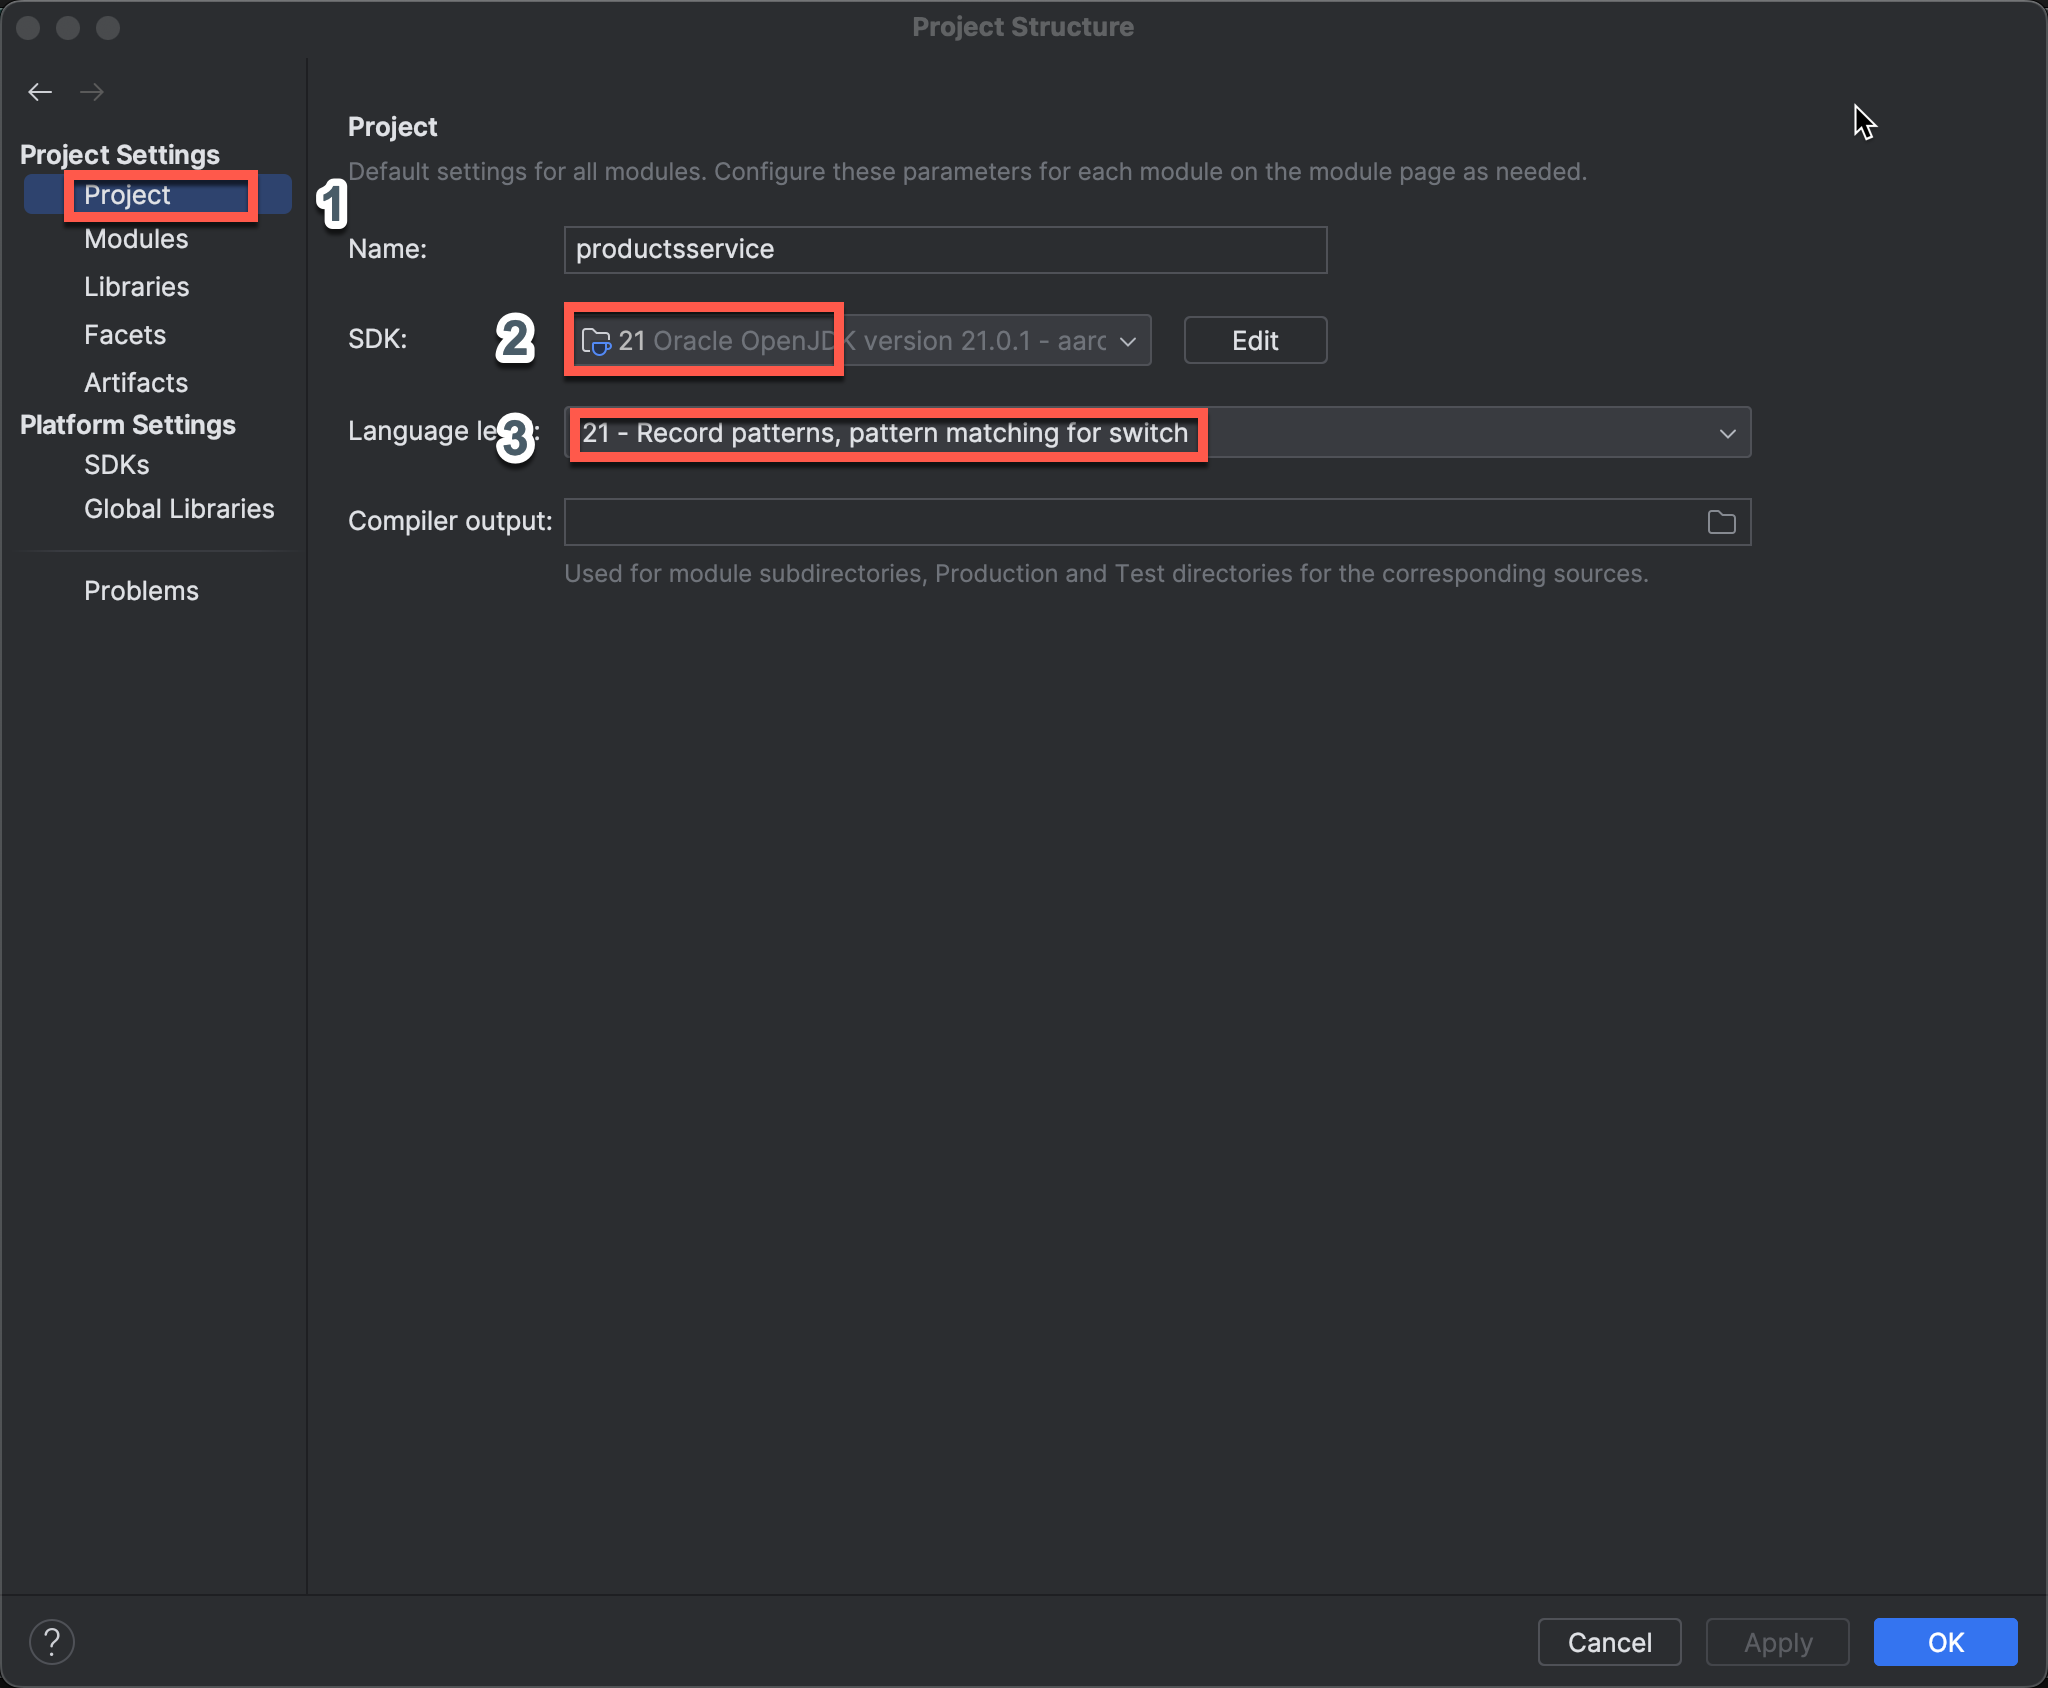
Under Project Settings, ensure that your project has SDK set to 21 and language level set to 21.
-
Under Platform Settings, ensure that your platform SDK is set to 21.
Running the Spring Boot Project
-
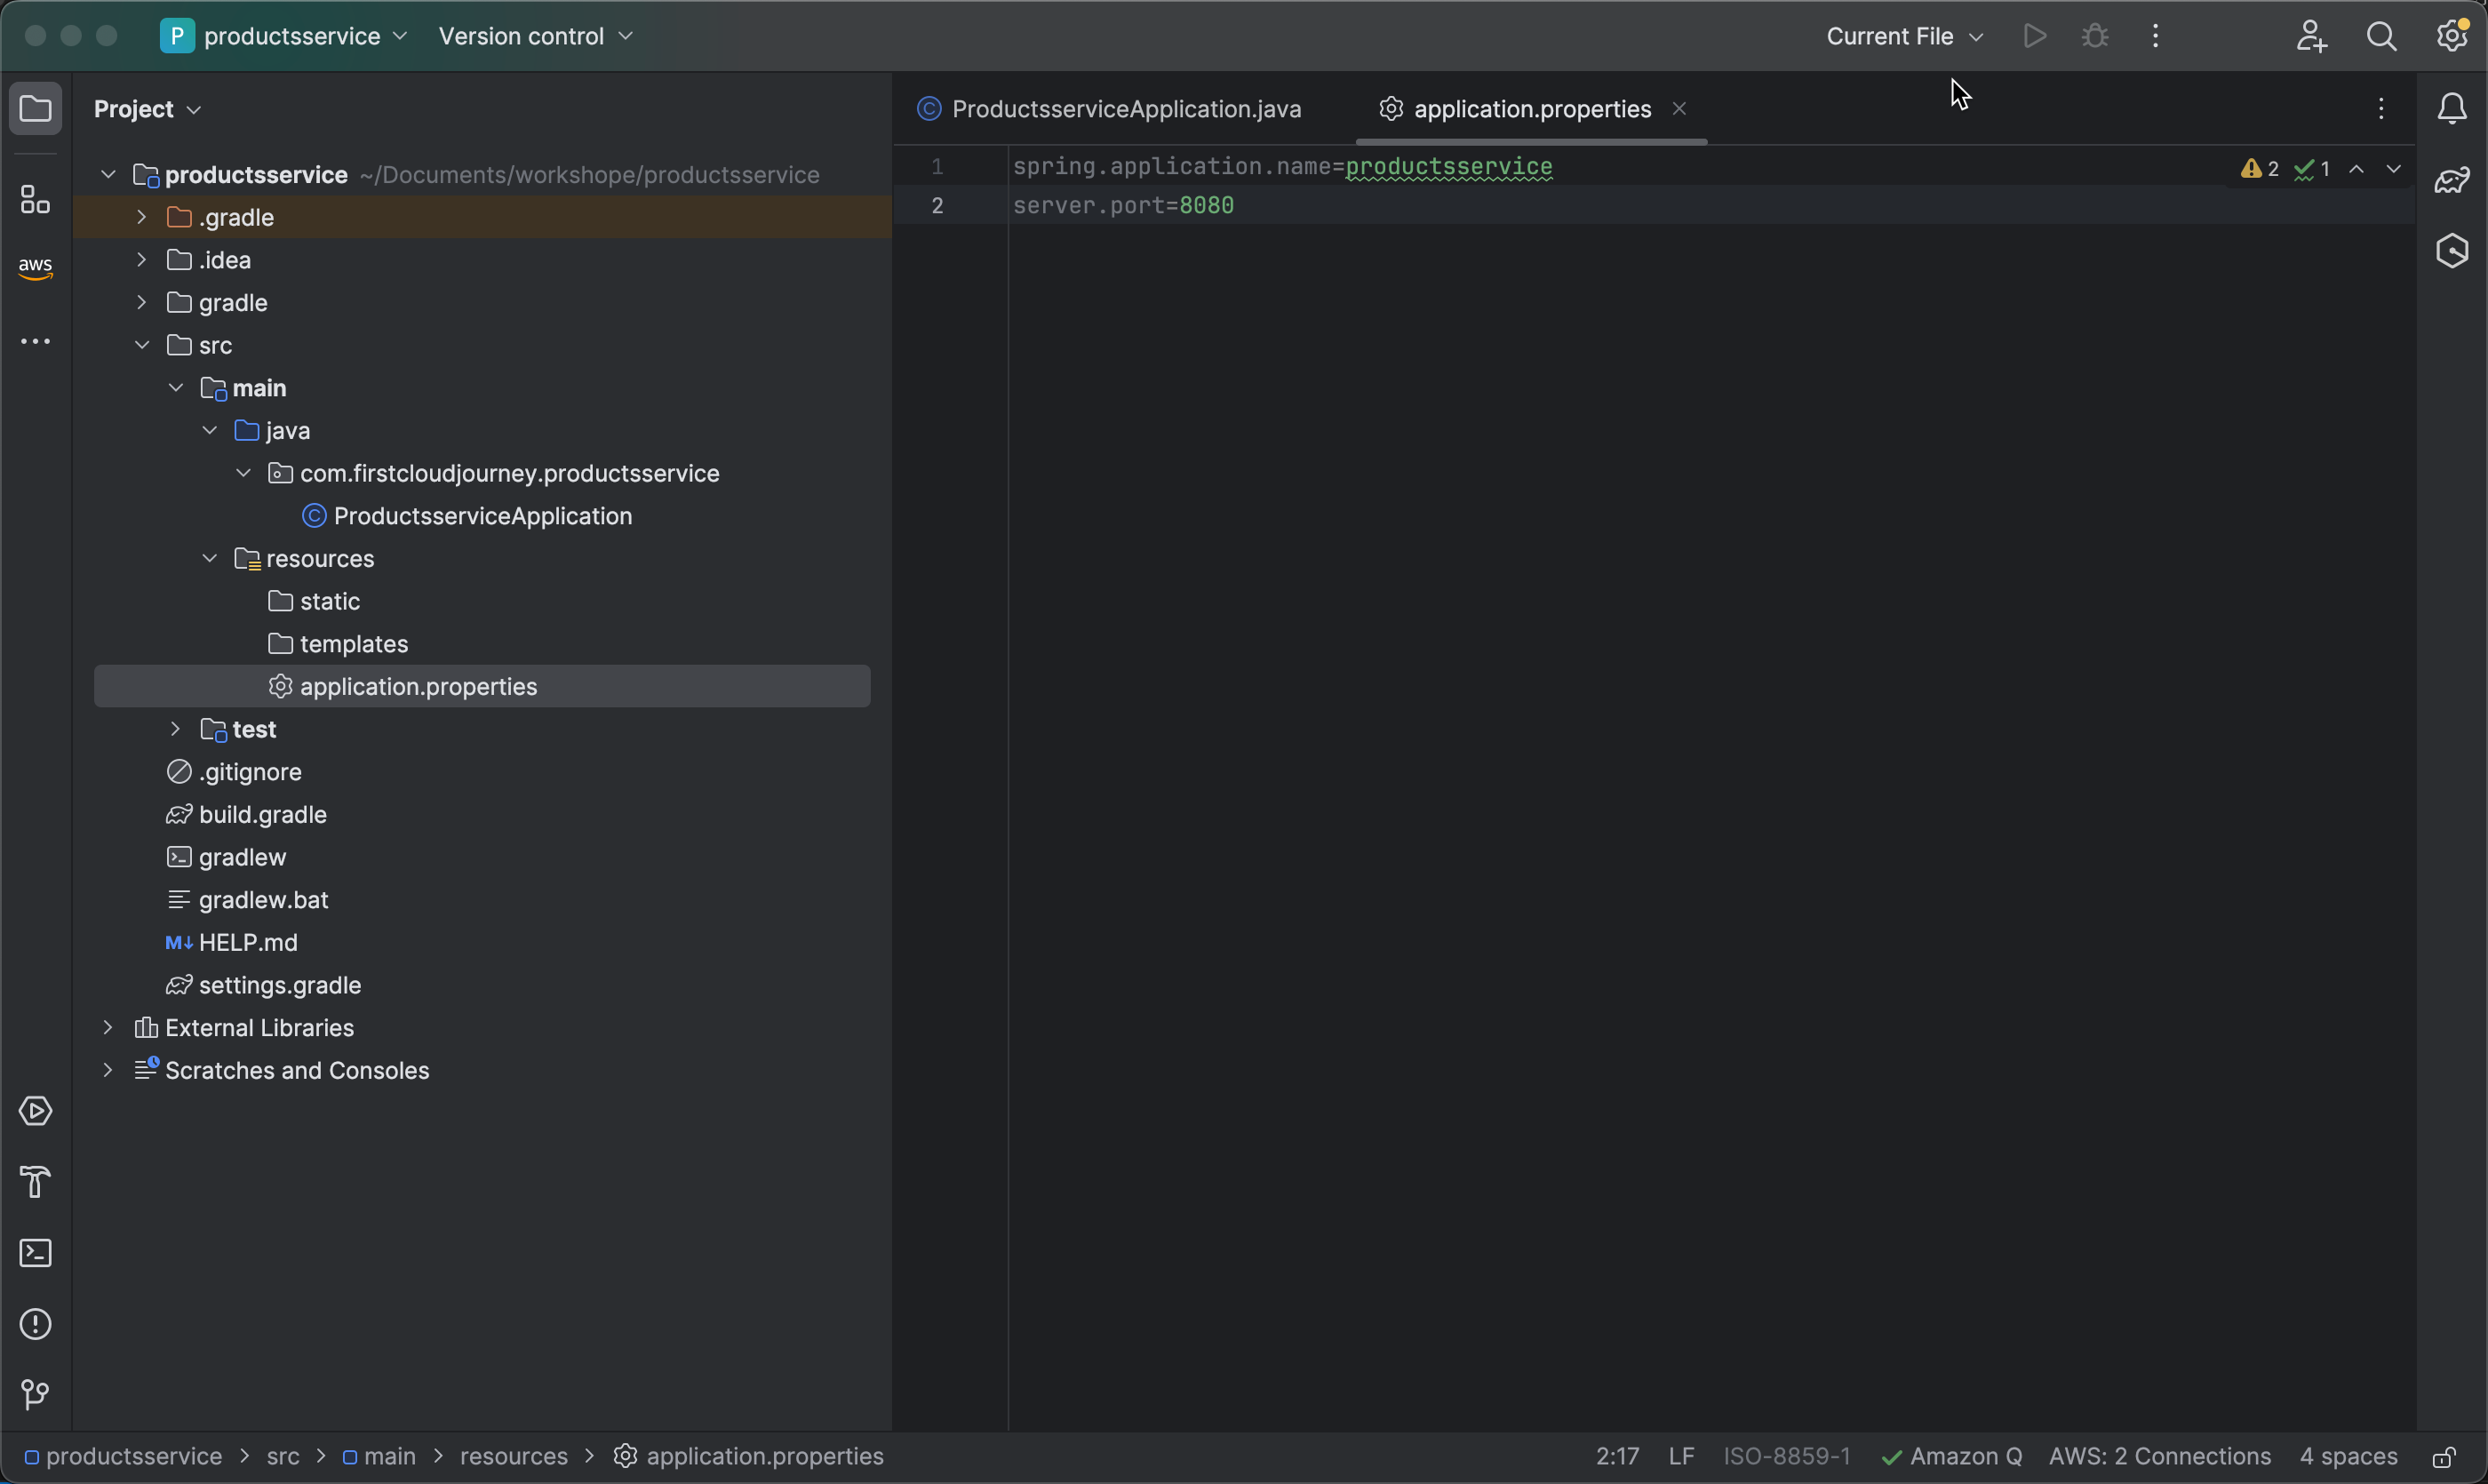
Open the file application.properties and add server.port=8081 to configure the project to run on port 8081.
-
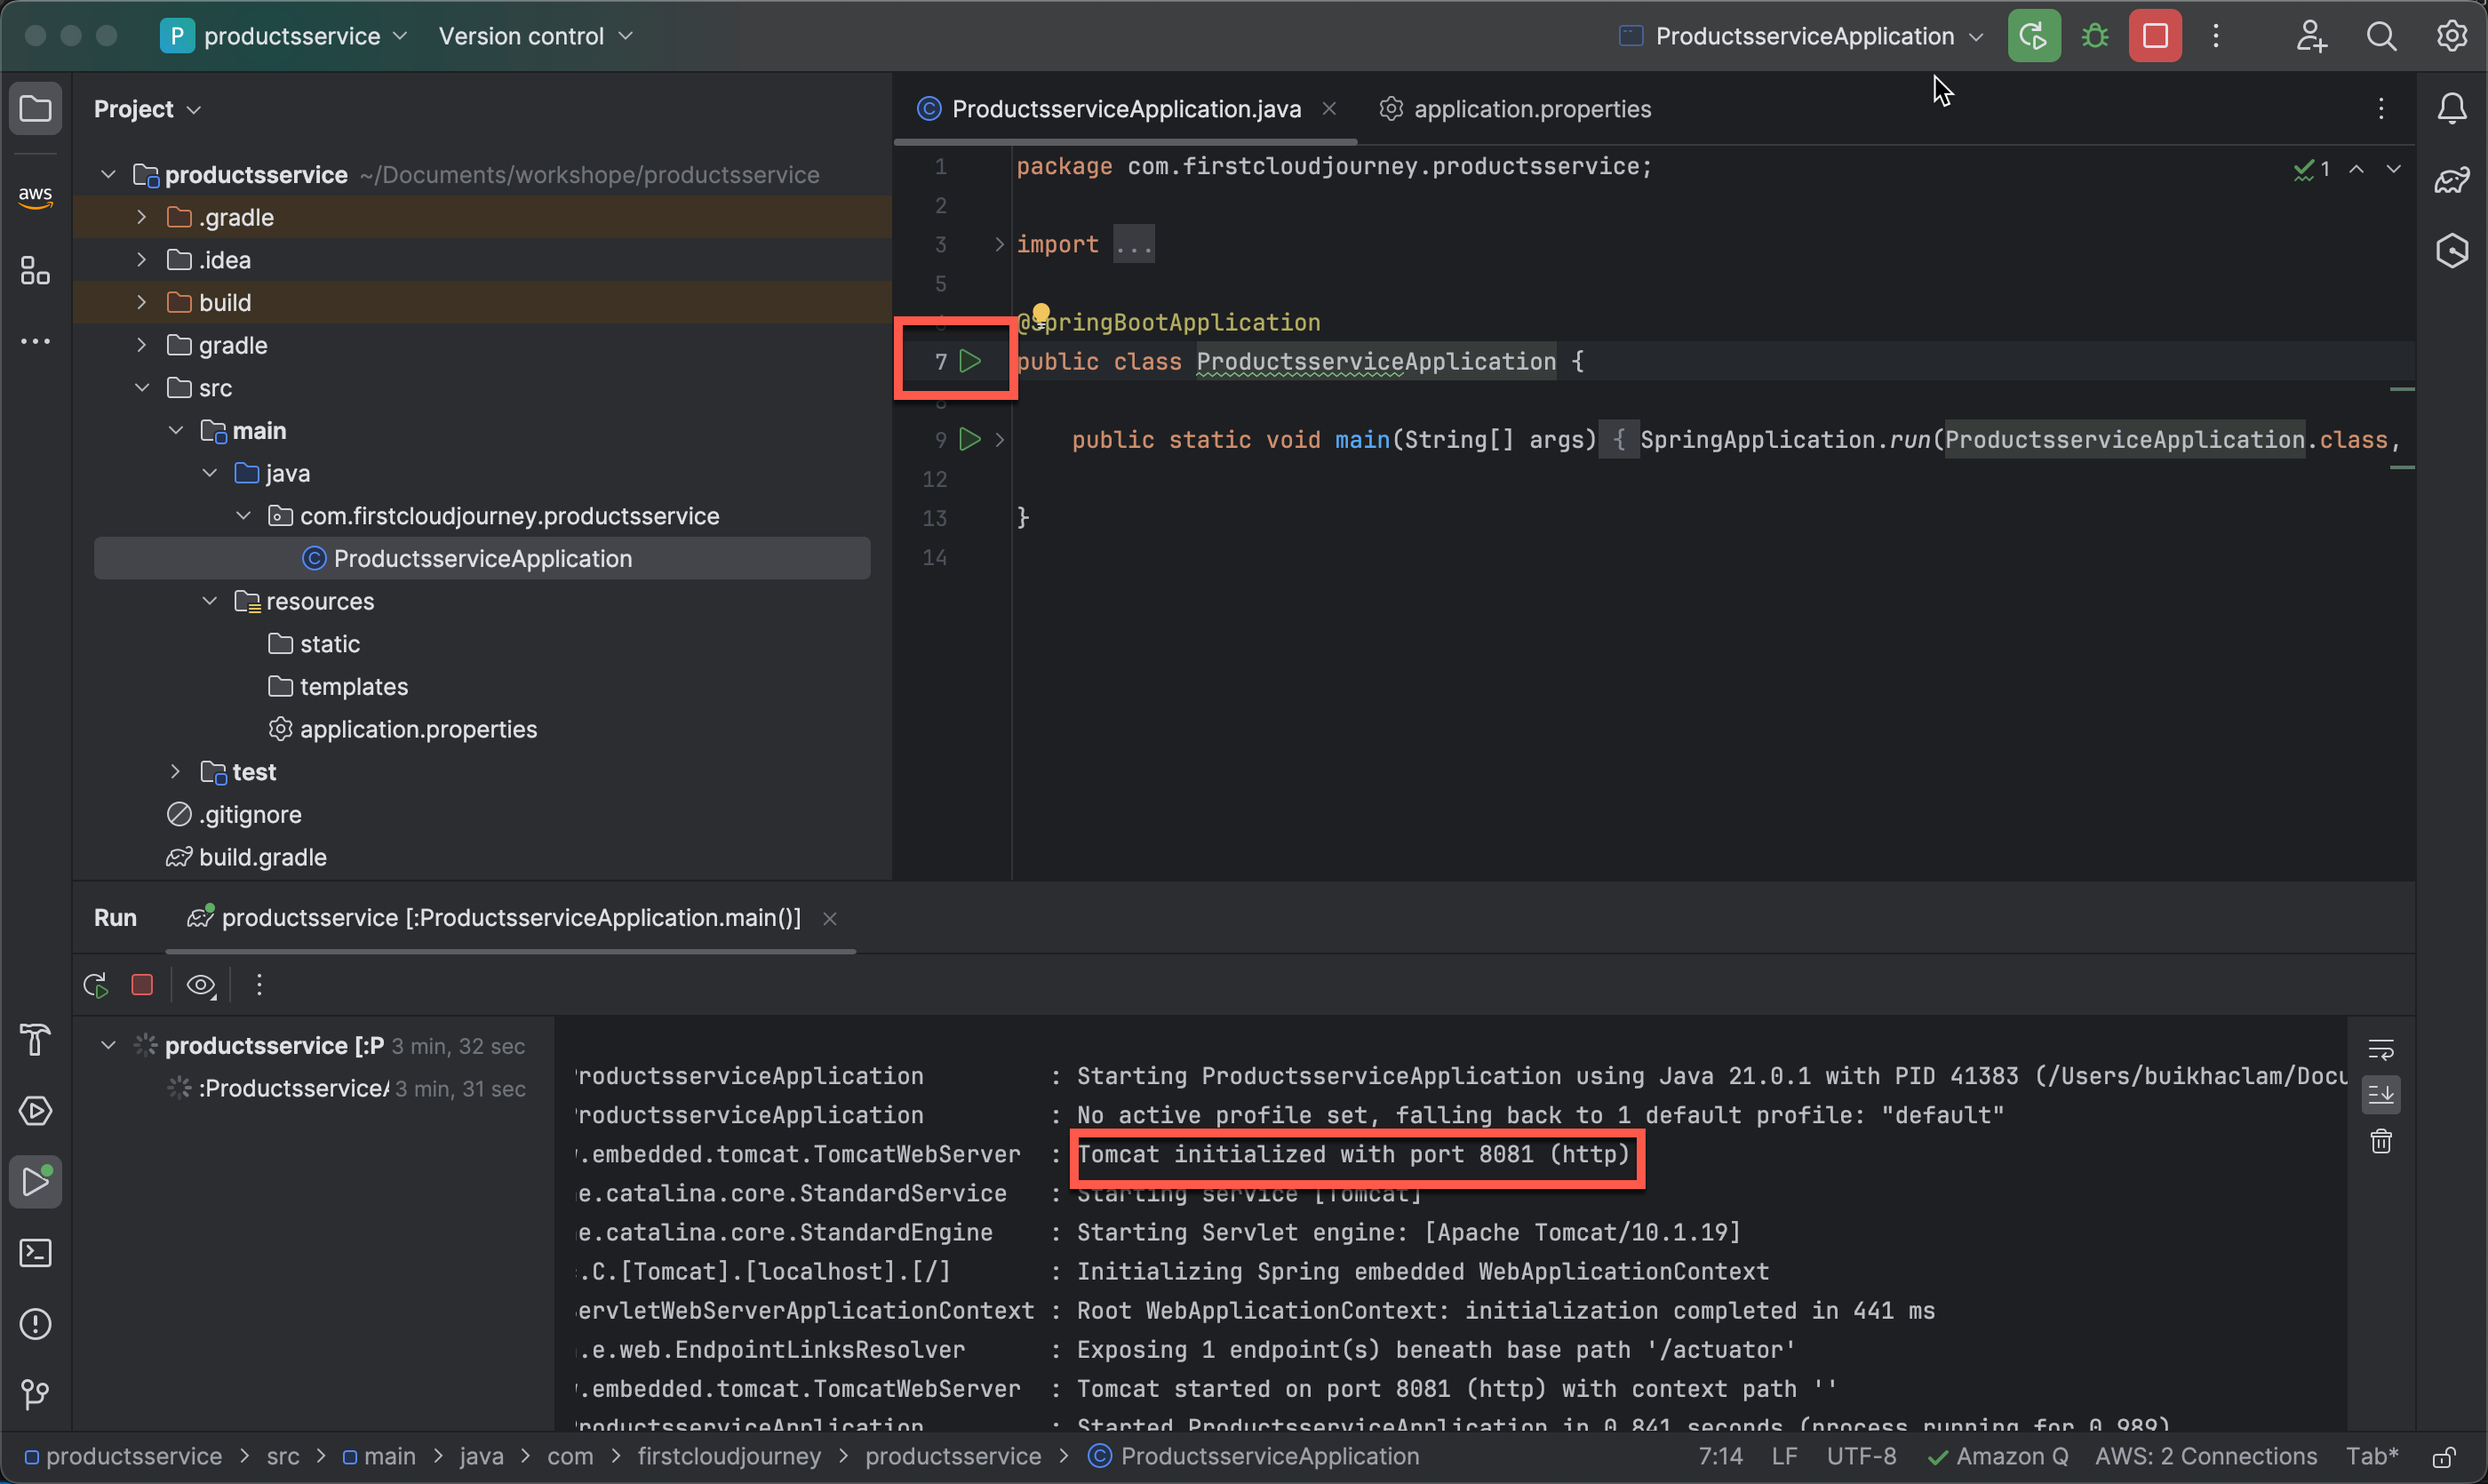
Click on the Run icon to run the project. You can see the project running on port 8081.
Testing the Project with Postman
-
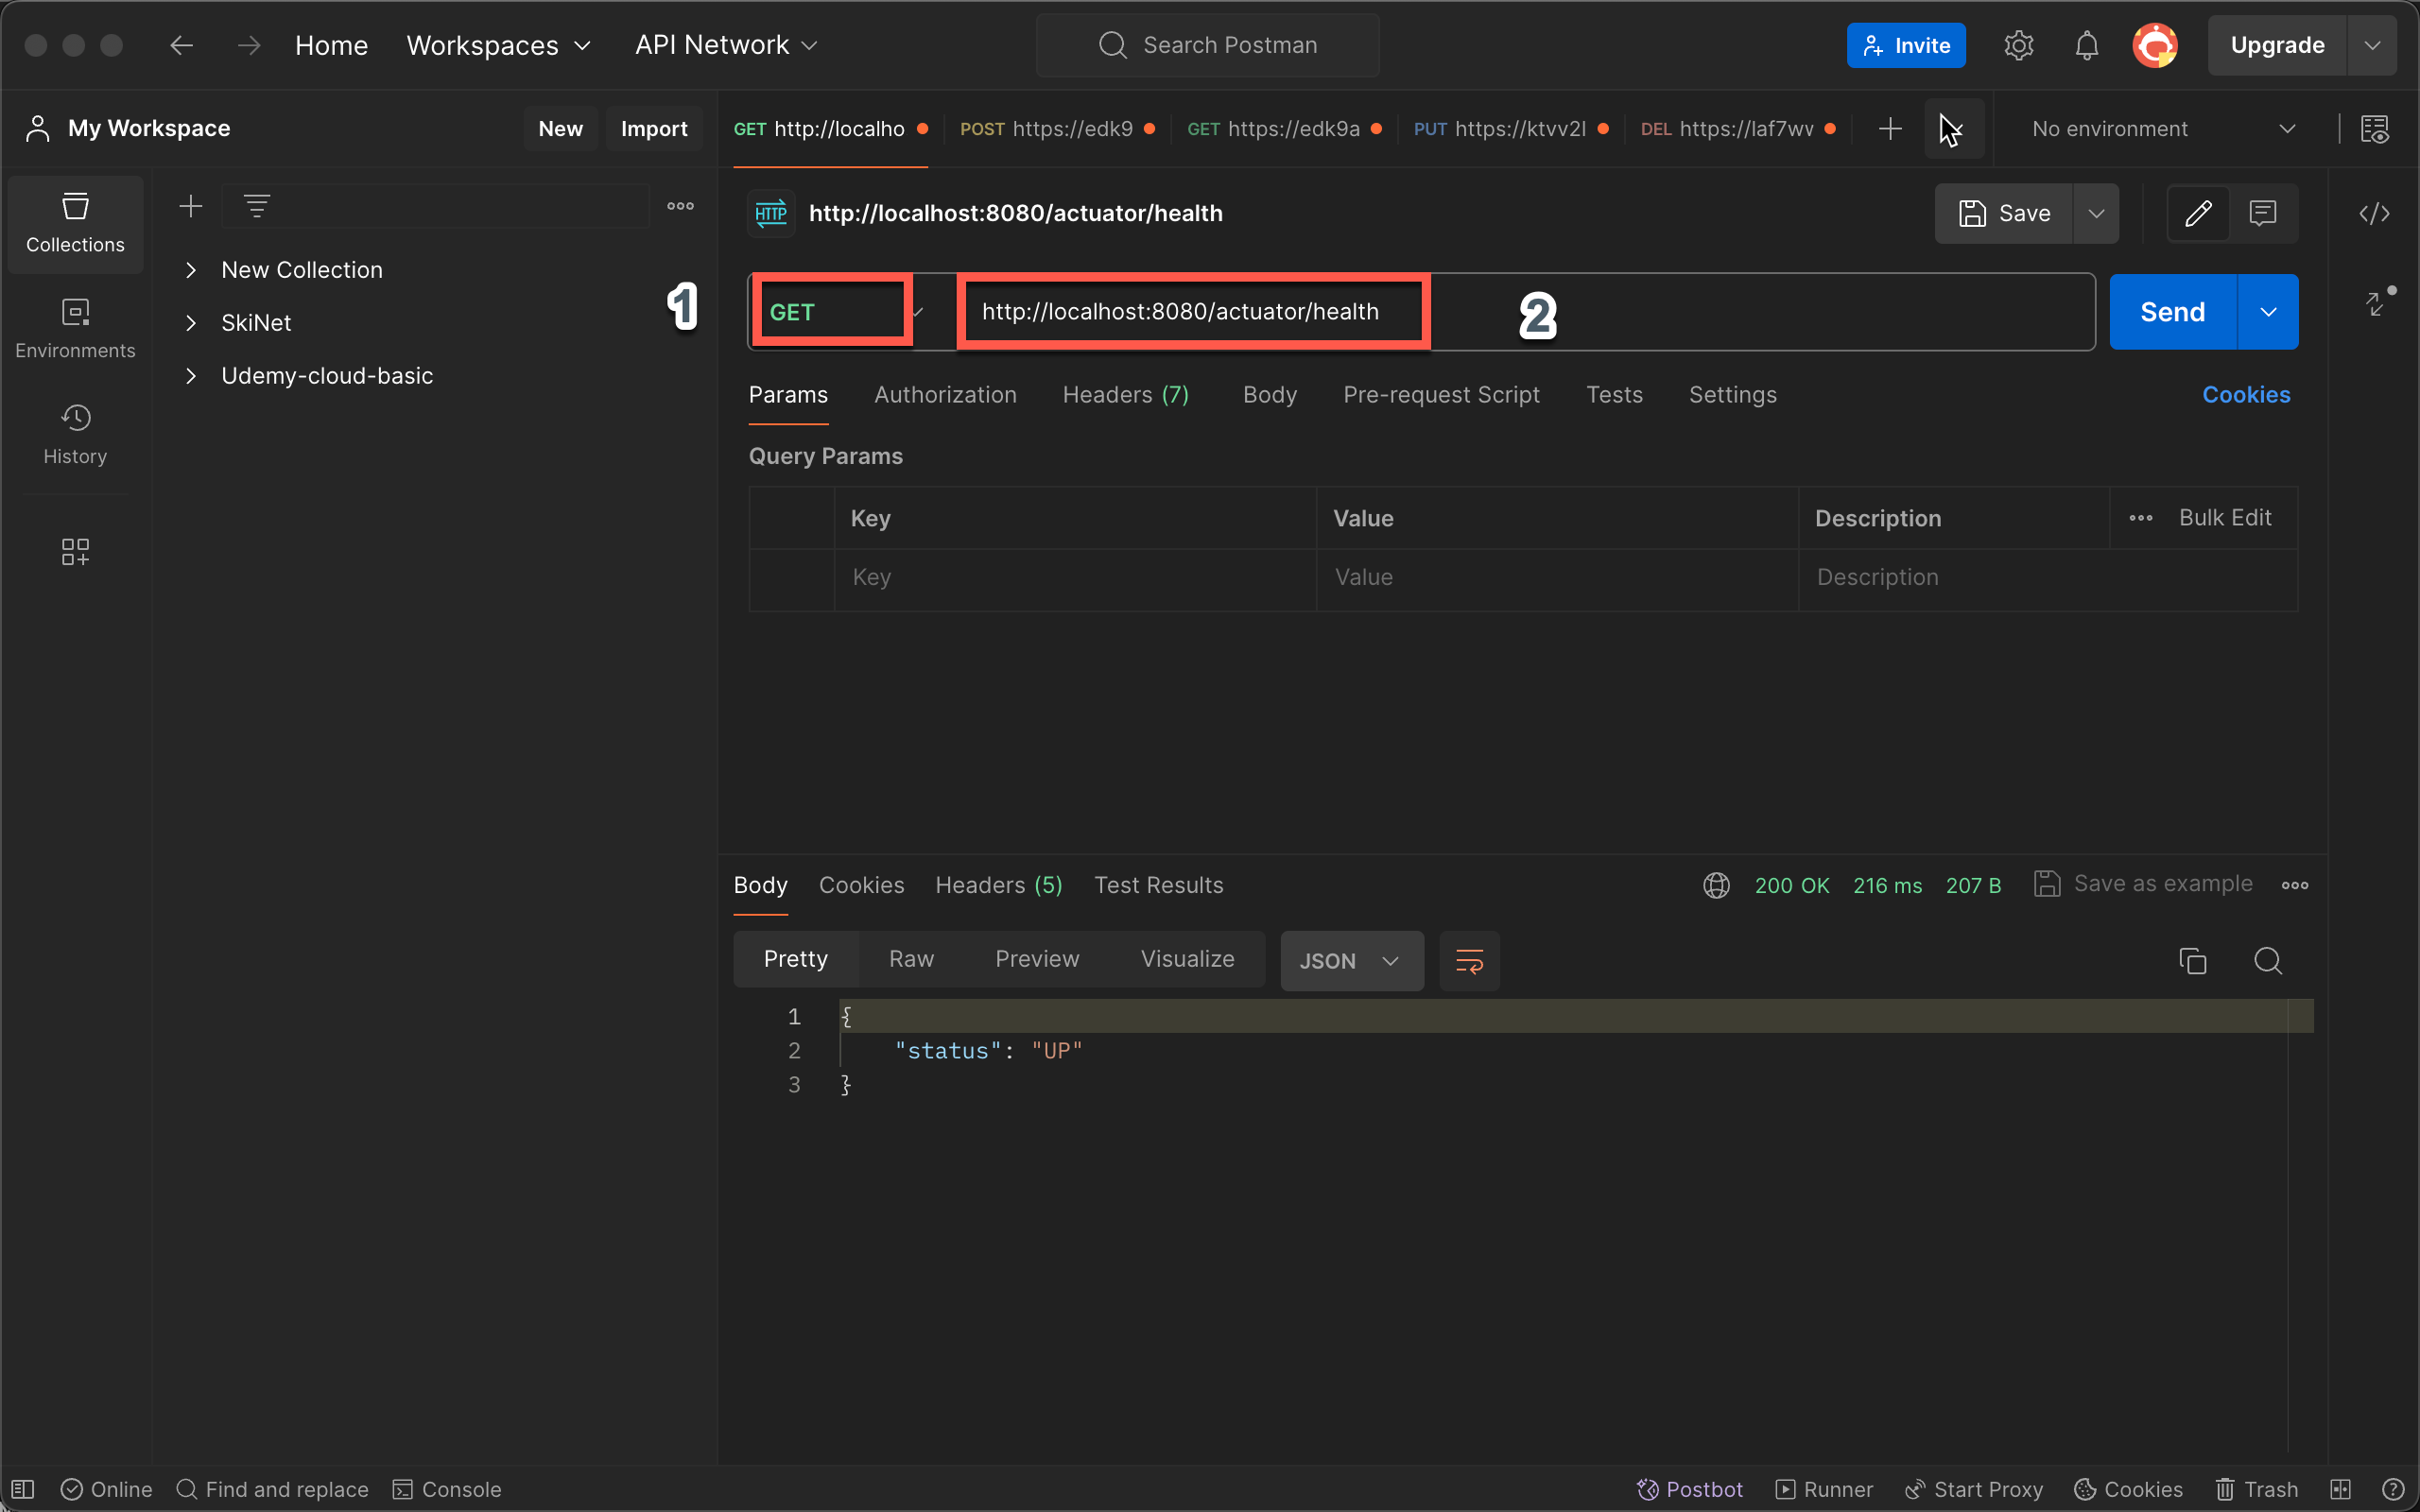
Create an HTTP GET request with the URL
http://localhost:8081/actuator/healthto test.- The response should show “status”: “UP” indicating that the project is running normally.
Adding the Log4j2 Library
-
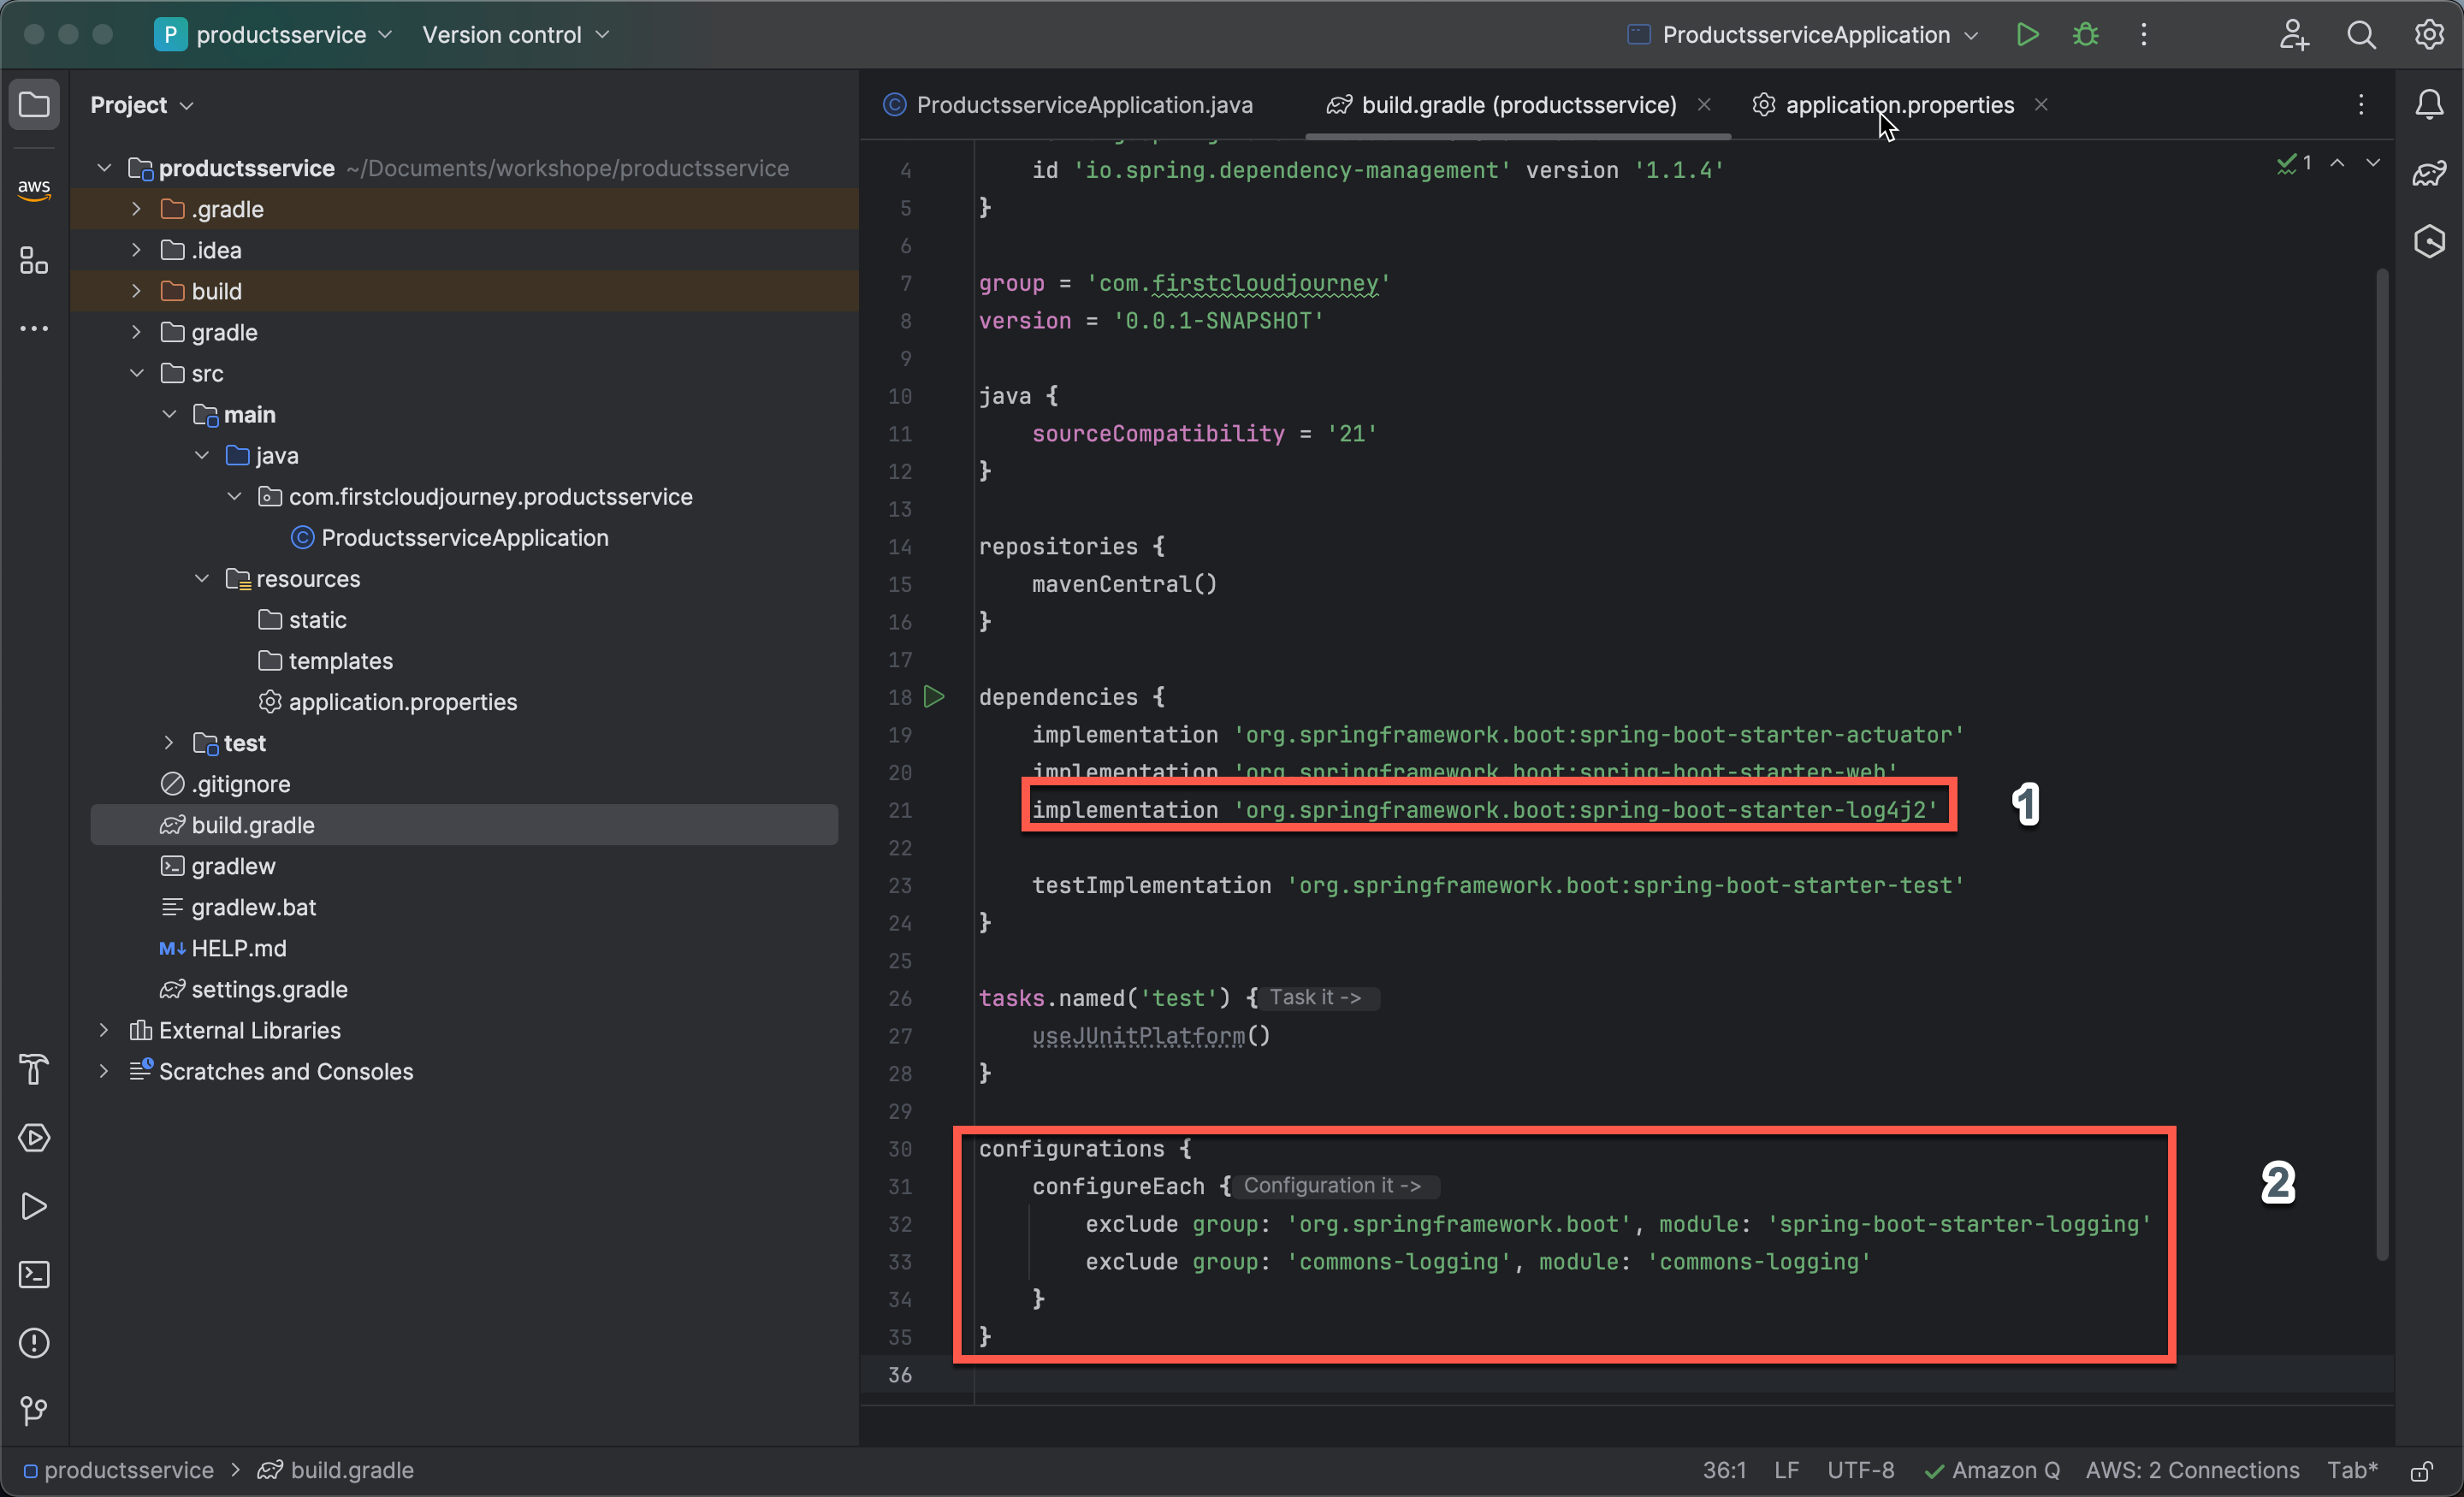
Open the build.gradle file:
- In the dependencies section, add the Log4j2 library with the following code:
implementation 'org.springframework.boot:spring-boot-starter-log4j2' - Add configurations:
configurations {
    configureEach {
        exclude group: 'org.springframework.boot', module: 'spring-boot-starter-logging'
        exclude group: 'commons-logging', module: 'commons-logging'
    }
}
- In the dependencies section, add the Log4j2 library with the following code:
Creating a Controller
-
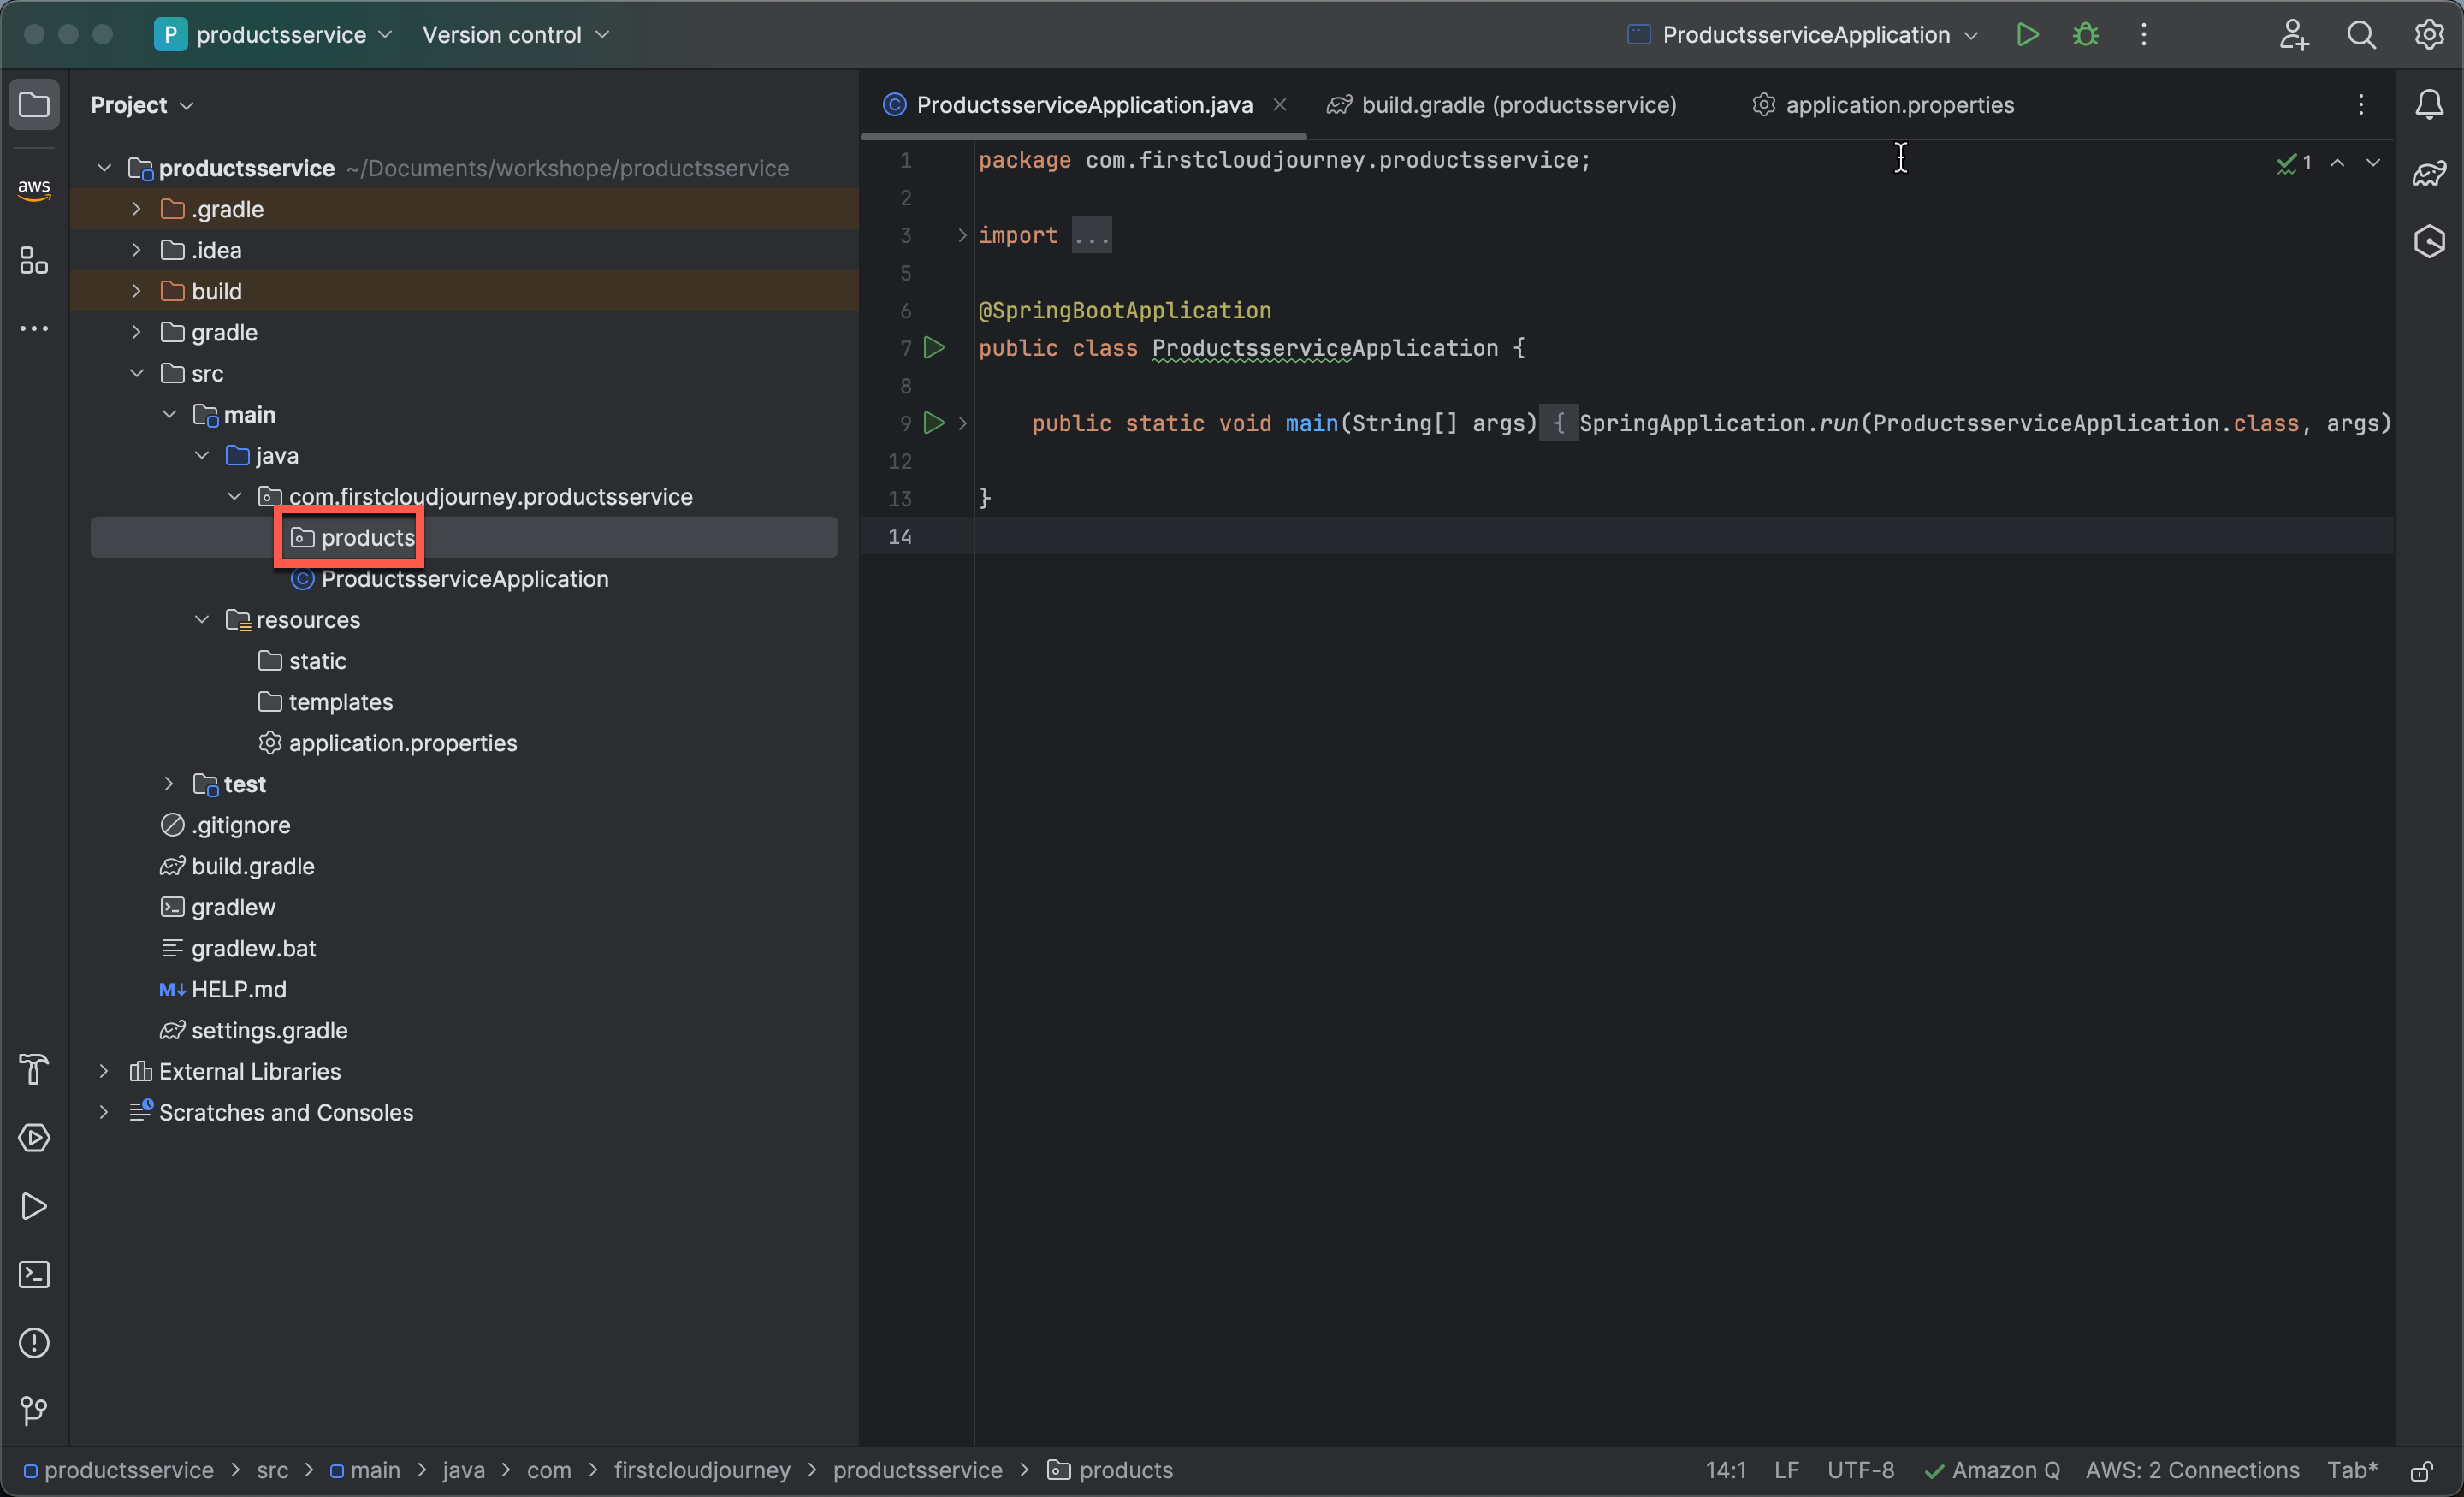
Inside the com.firstcloudjourney.productsservice directory, create a folder named products.
-
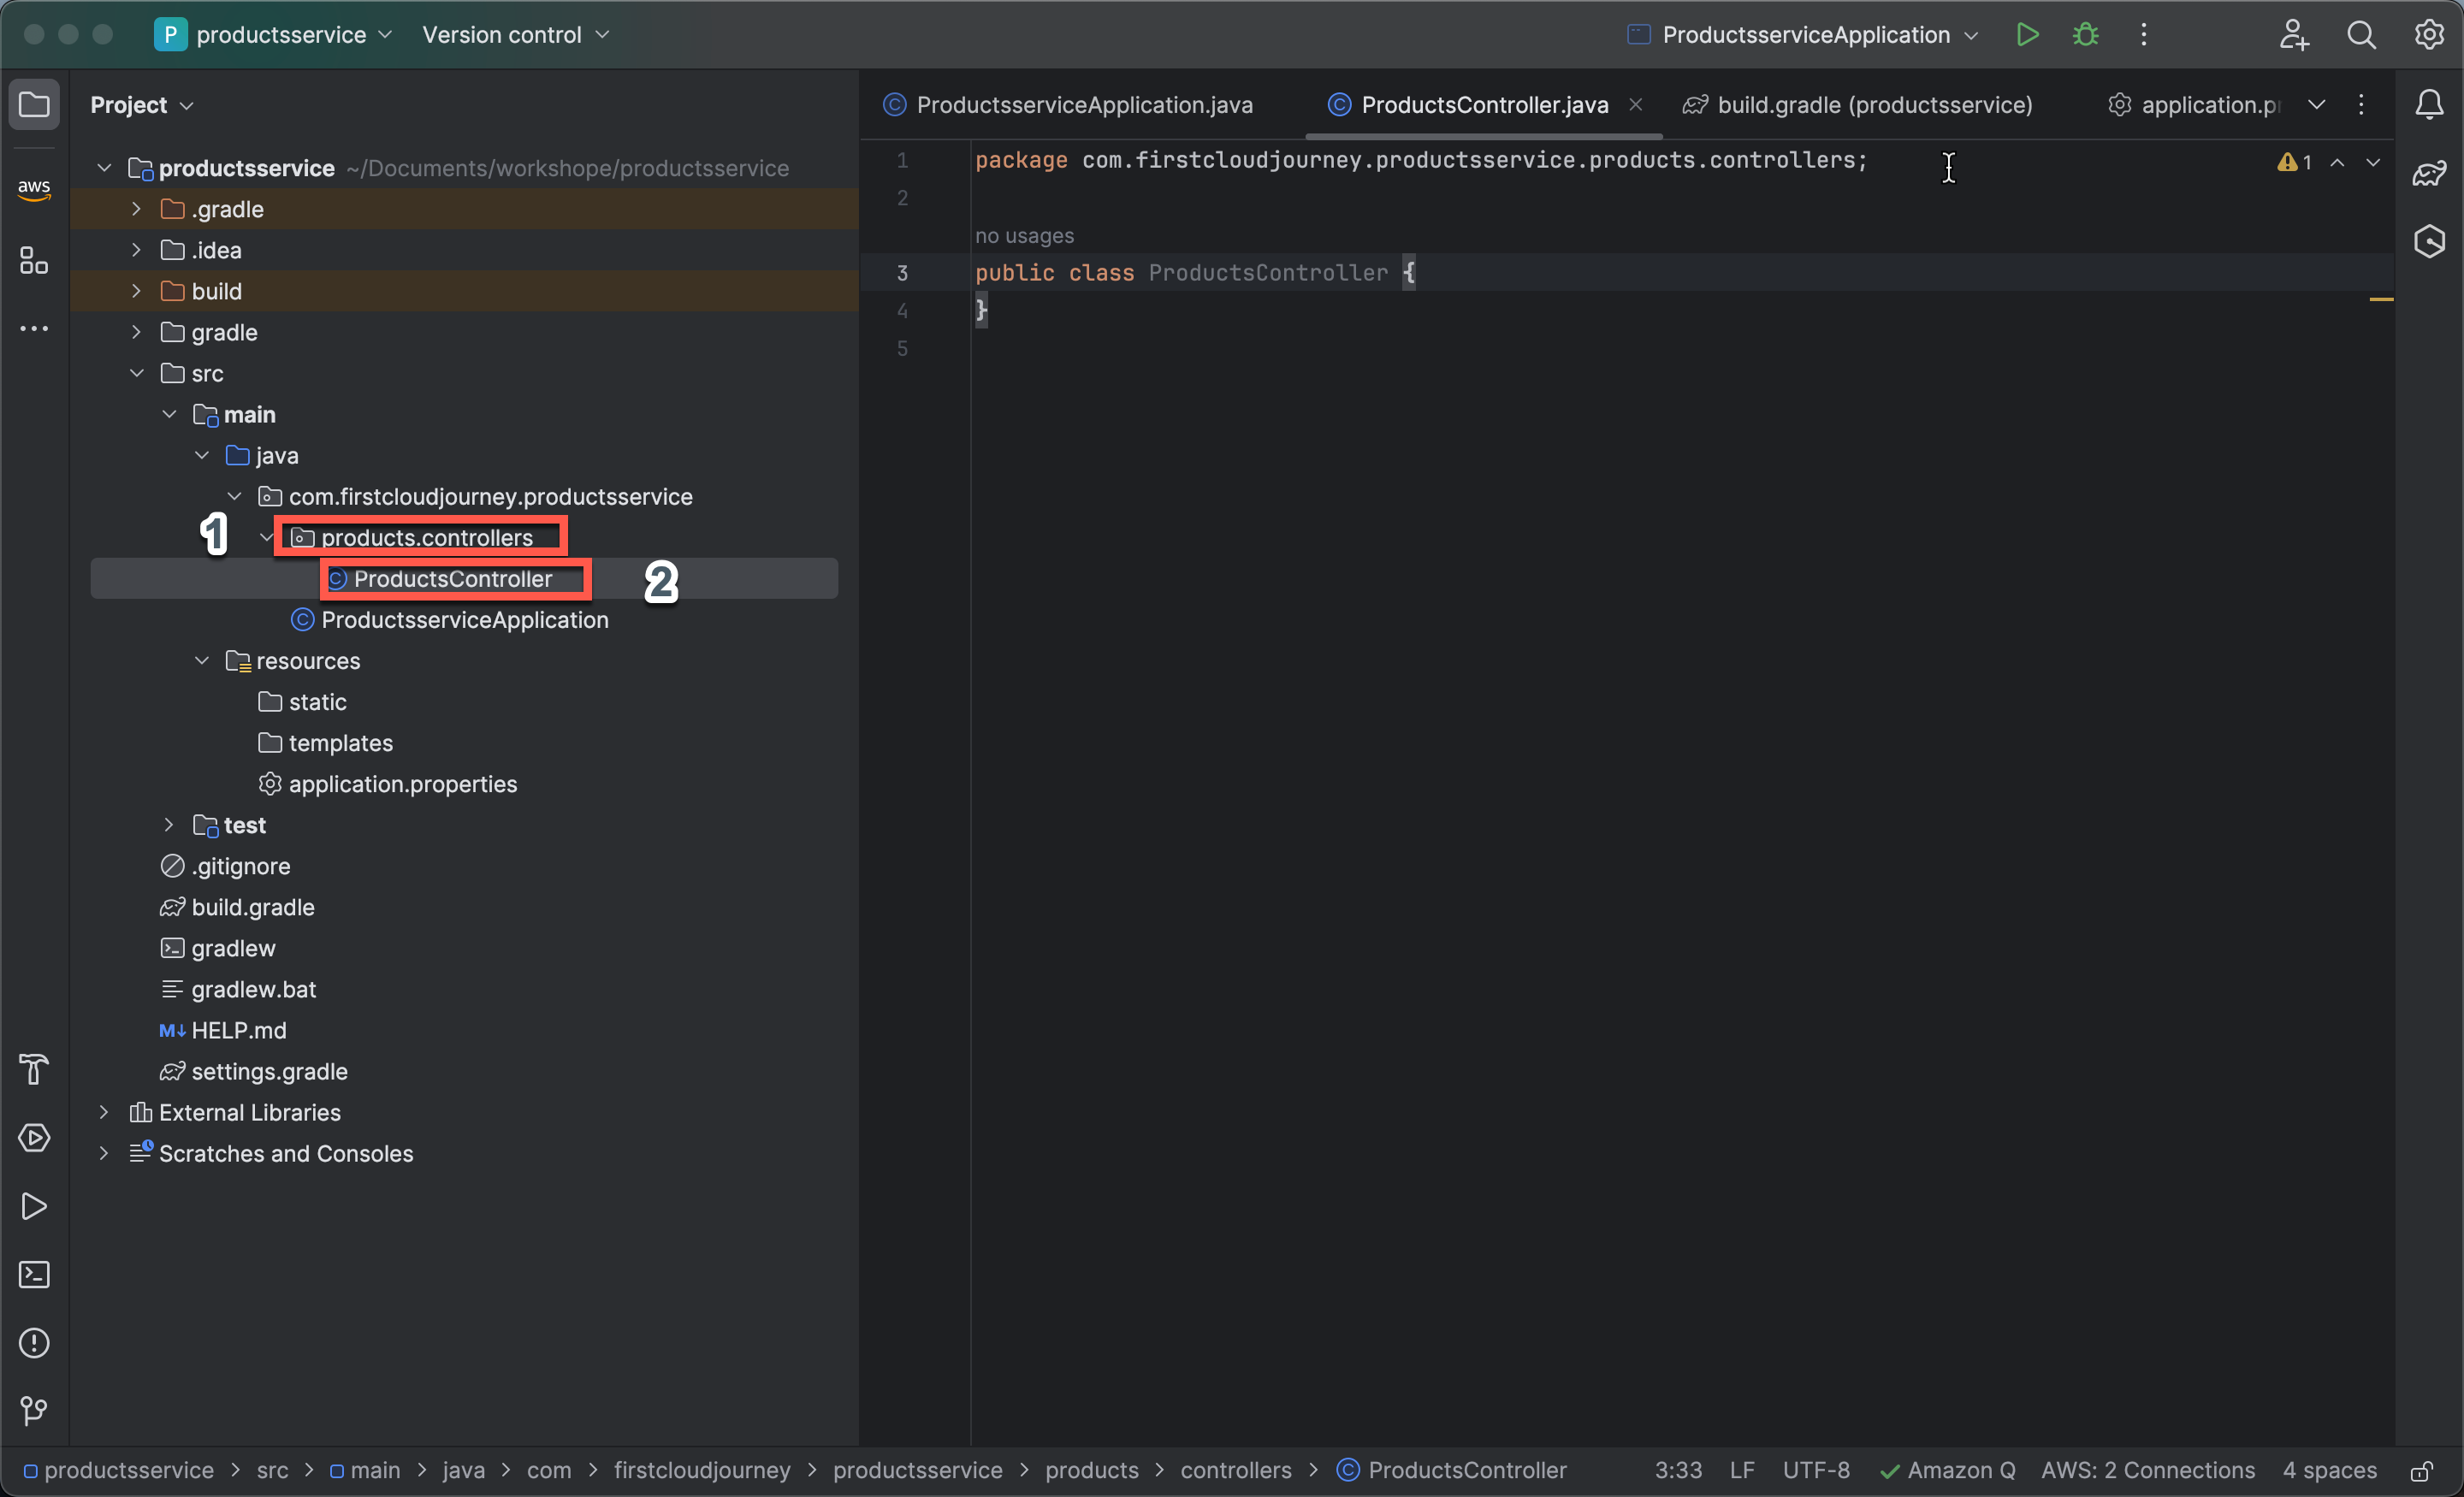
Inside the products folder, create a directory named controllers and create a file named ProductsController.java inside the controllers directory.
-
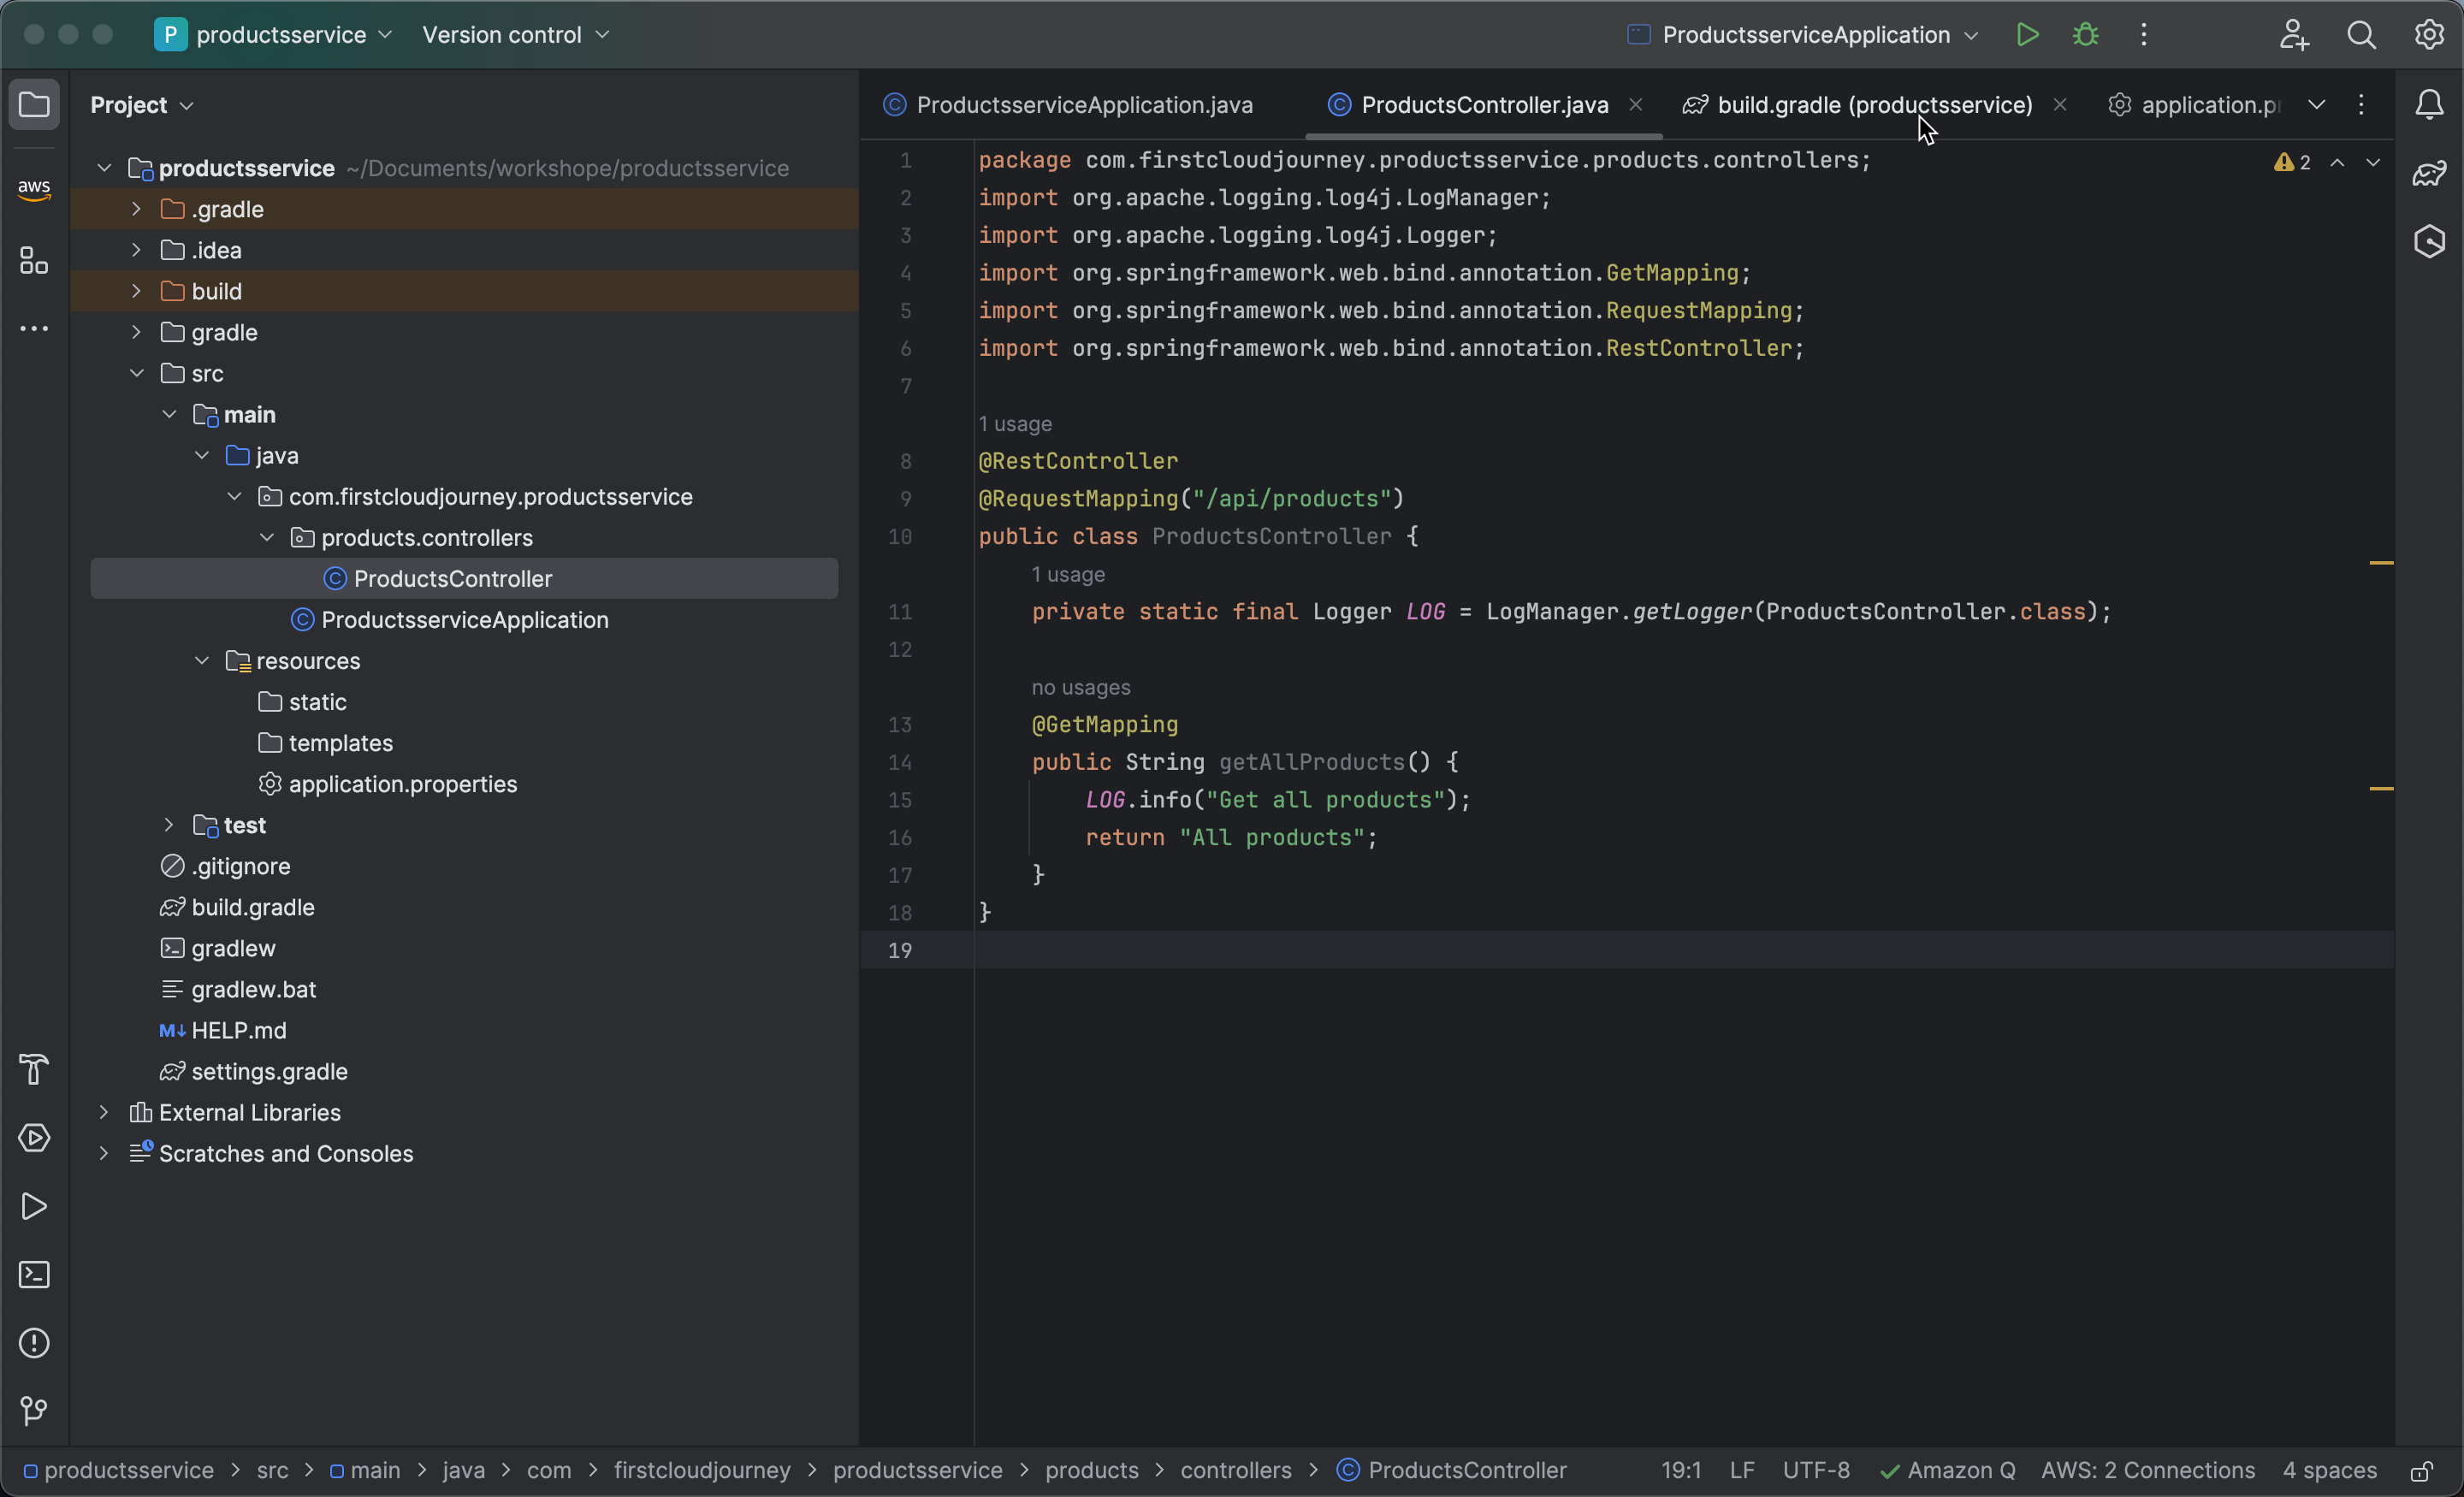
Copy and paste the following code into ProductsController.java:
import org.apache.logging.log4j.LogManager;
import org.apache.logging.log4j.Logger;
import org.springframework.web.bind.annotation.GetMapping;
import org.springframework.web.bind.annotation.RequestMapping;
import org.springframework.web.bind.annotation.RestController;

@RestController
@RequestMapping("/api/products")
public class ProductsController {
    private static final Logger LOG = LogManager.getLogger(ProductsController.class);

    @GetMapping
    public String getAllProducts() {
        LOG.info("Get all products");
        return "All products";
    }
}
-
Run the project and test with Postman by creating an HTTP GET request with the URL
http://localhost:8081/api/products.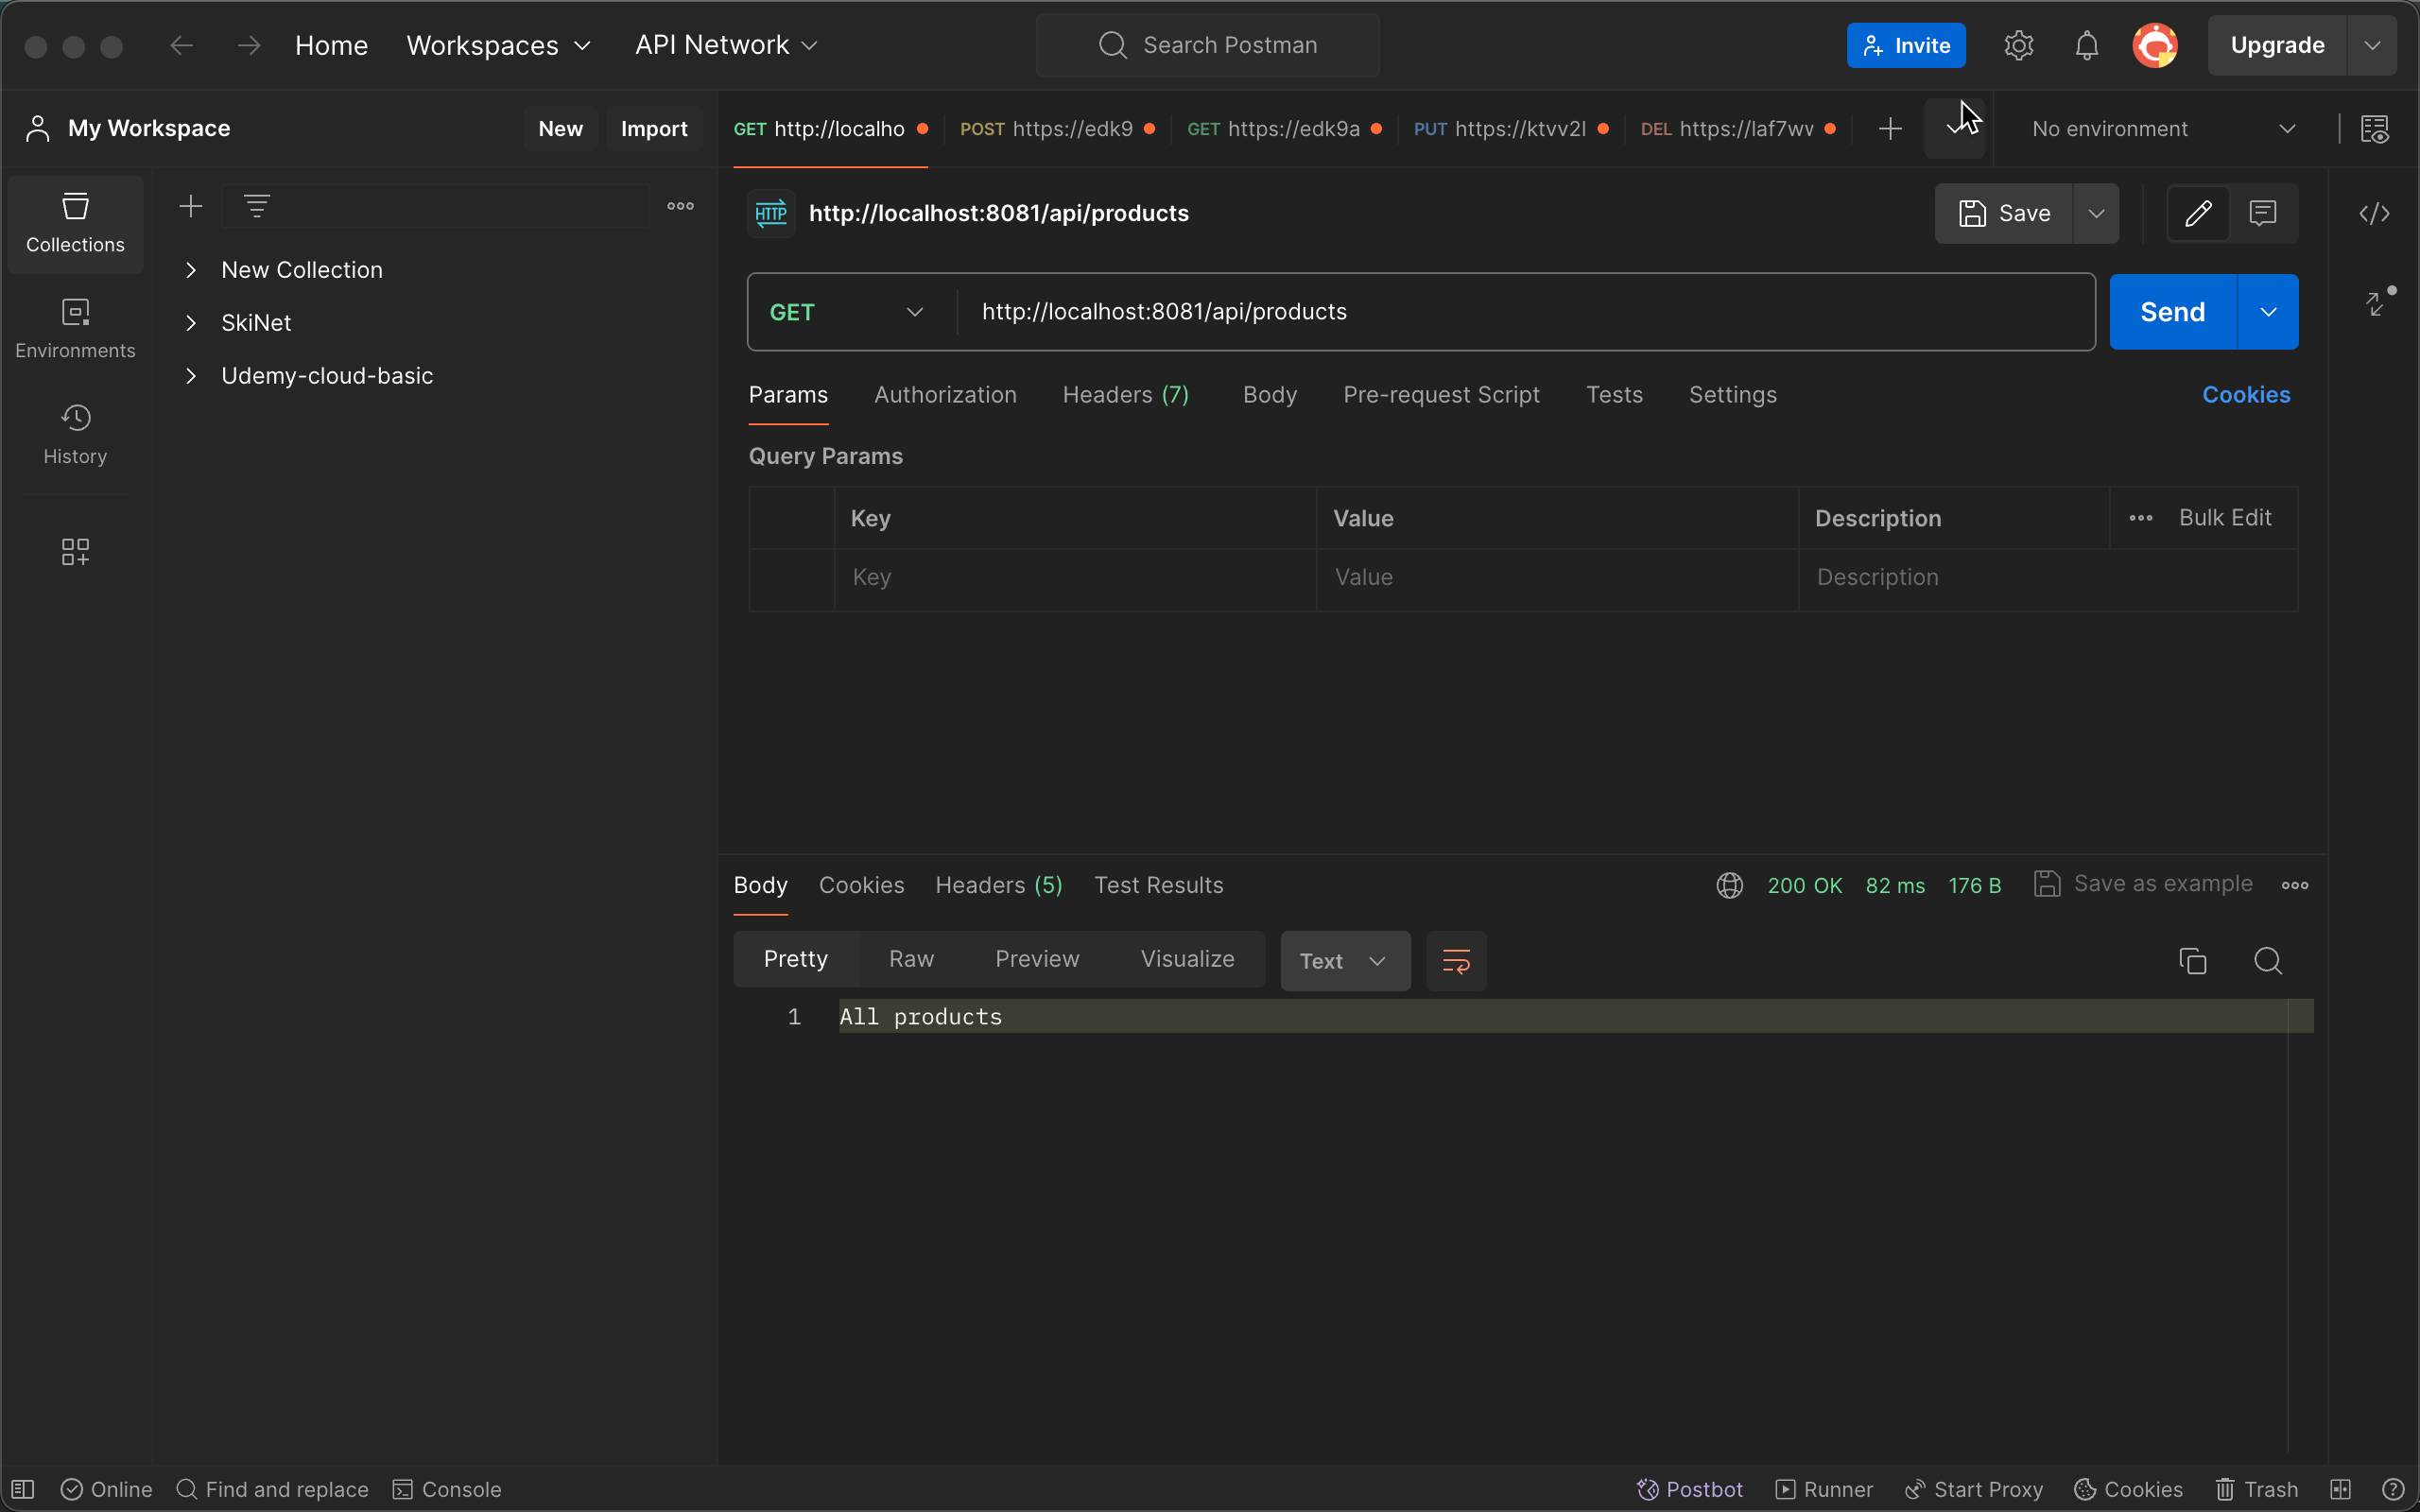
-
Check the logs returned in the terminal when making the HTTP GET request.